

Baba’s Moon Gallery—Part I


Moon over Topeka, Kansas, USA
Moon over Topeka, Kansas, USA
Moon over Maputo, Mozambique
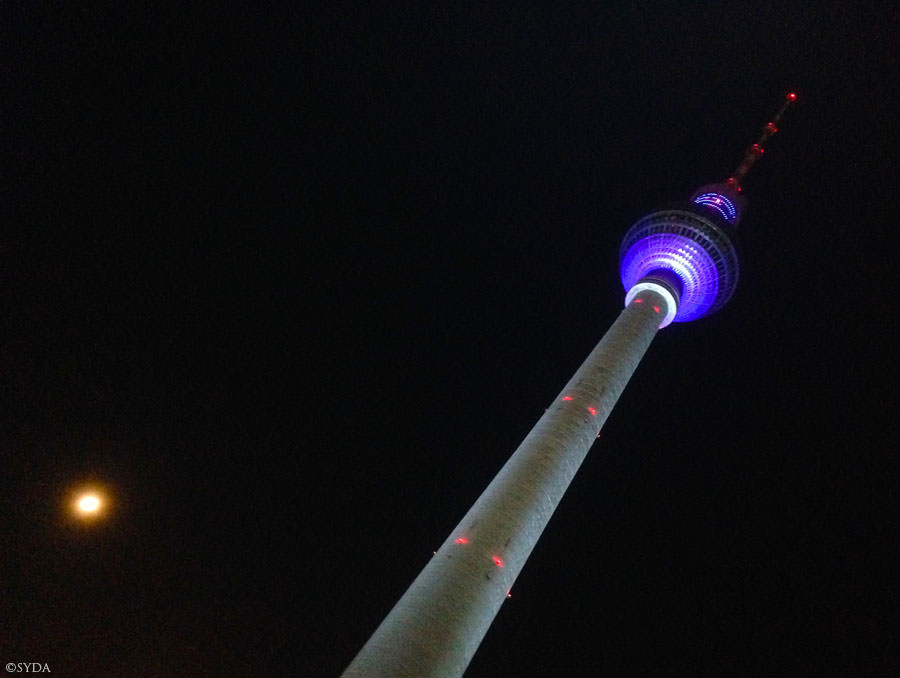
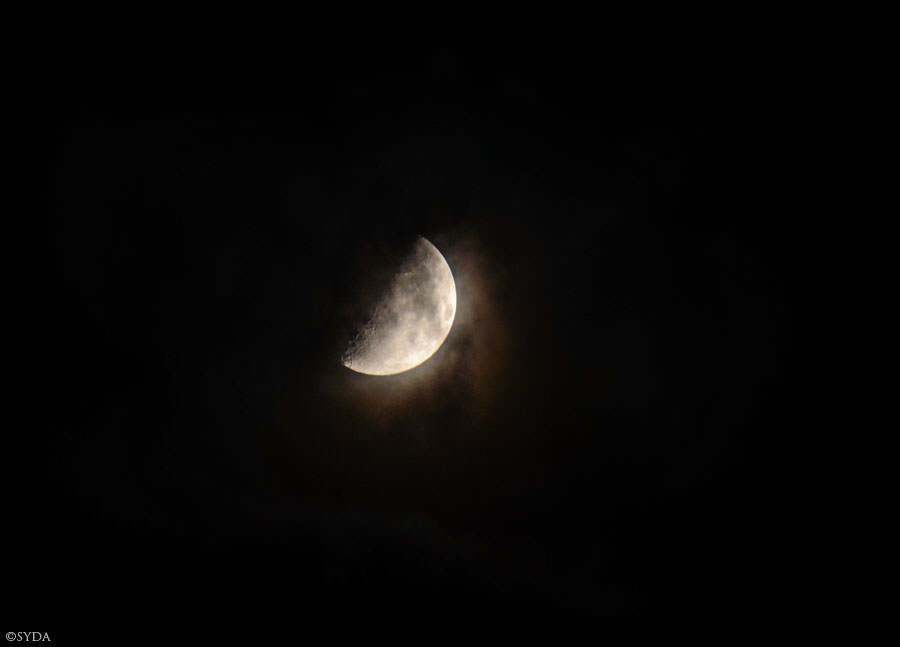
Moon over Berlin, Germany
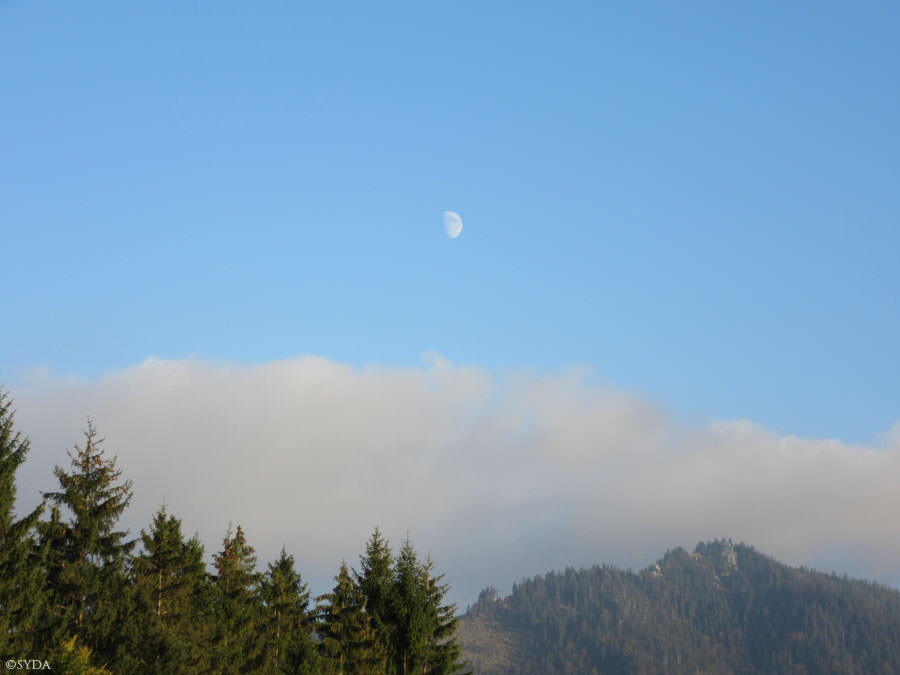
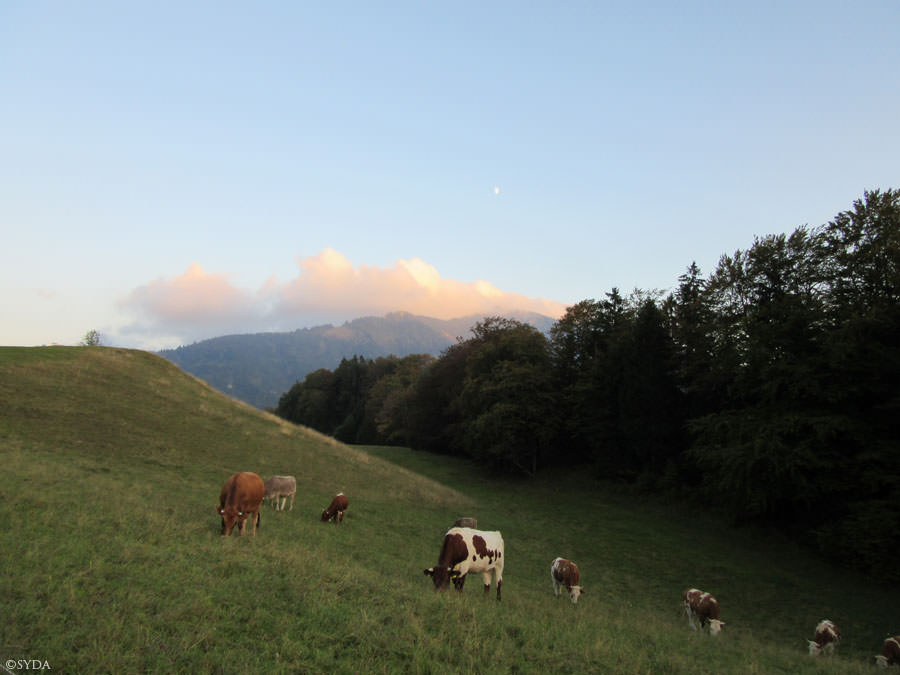
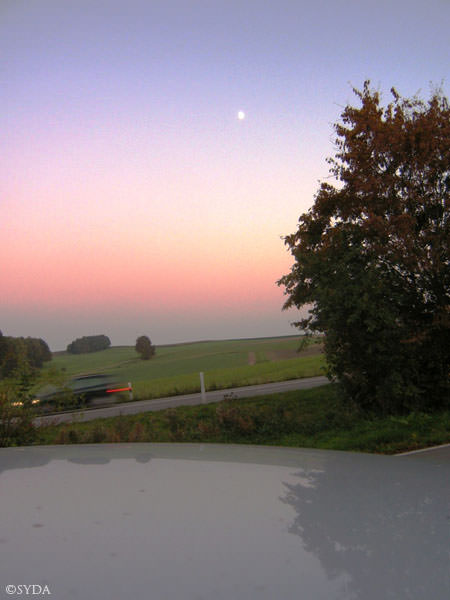
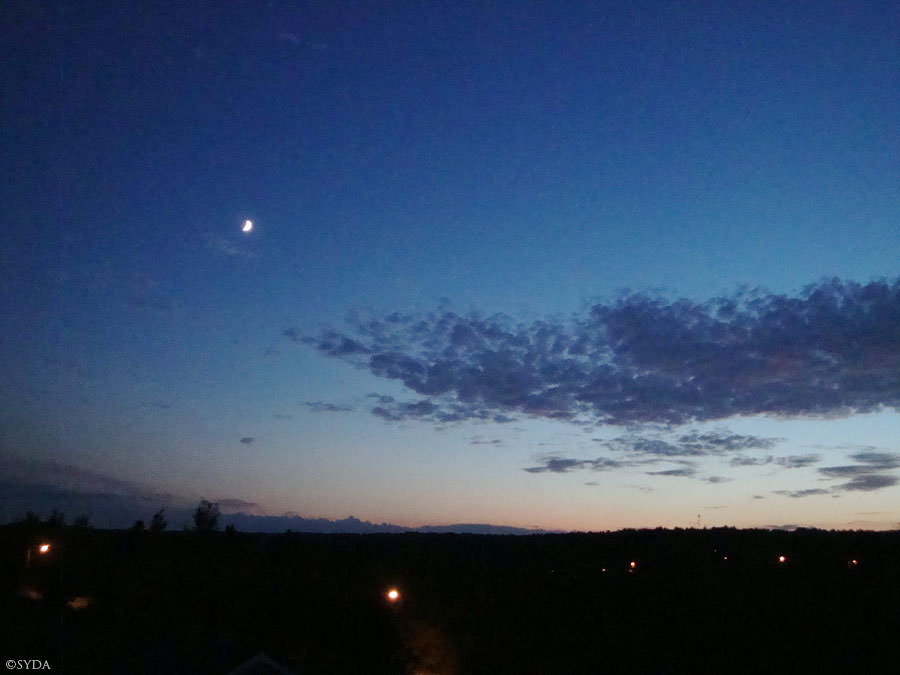
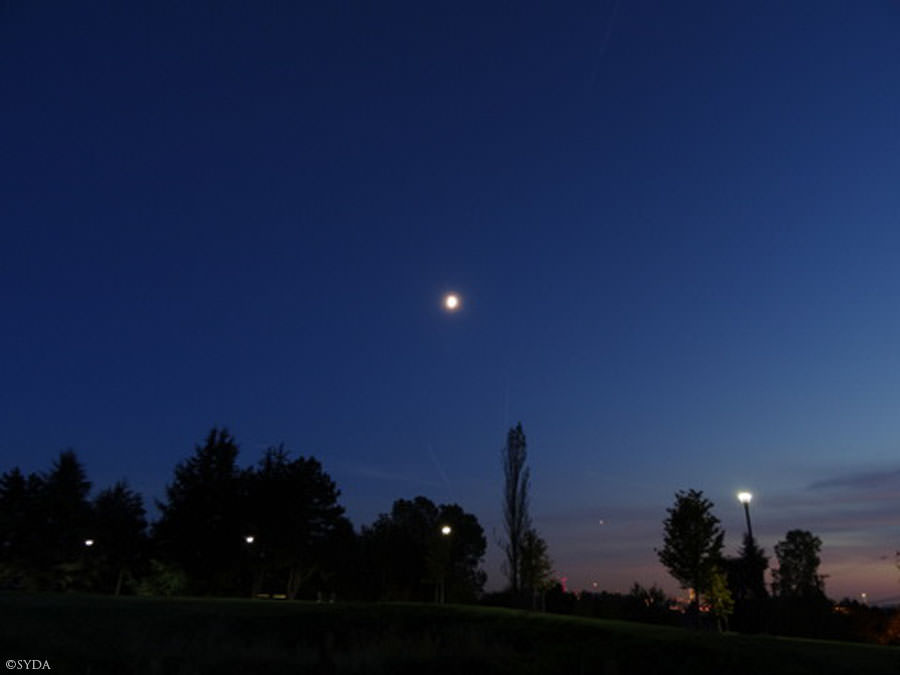
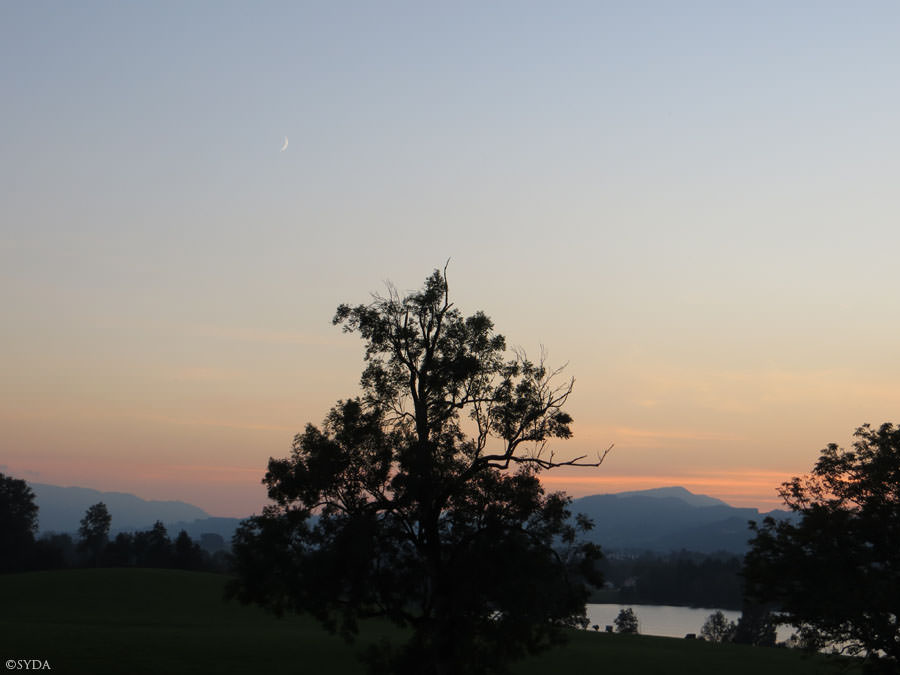
Moon over Kempten, Germany
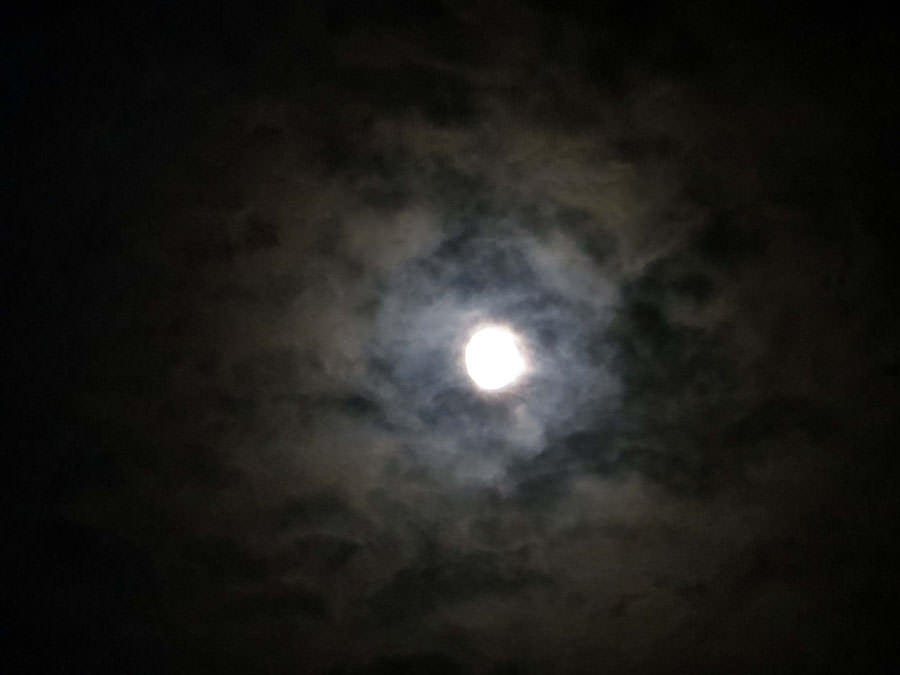
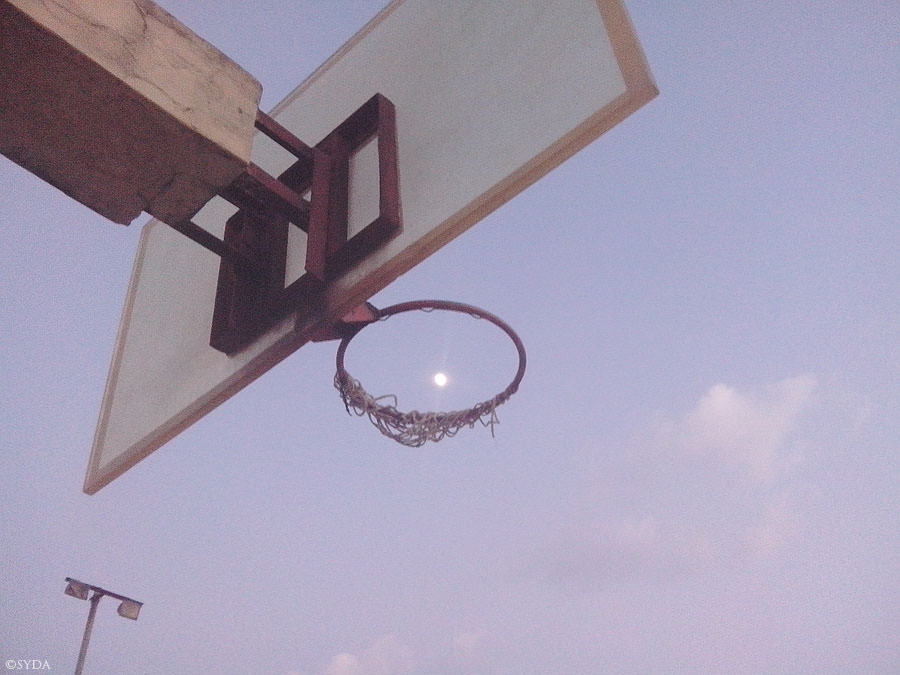
Moon over Rio de Janeiro, Brazil
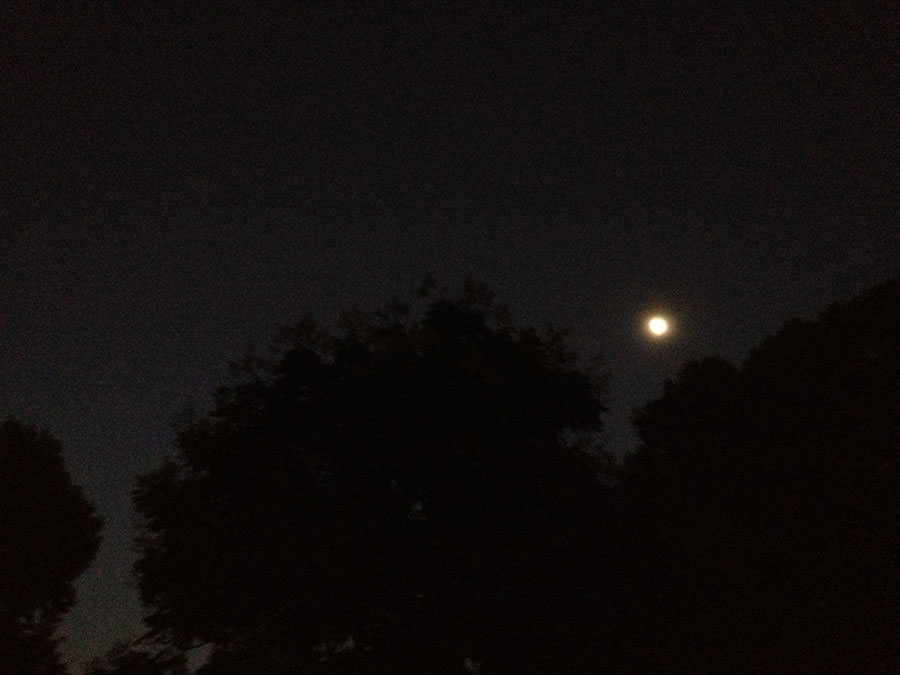
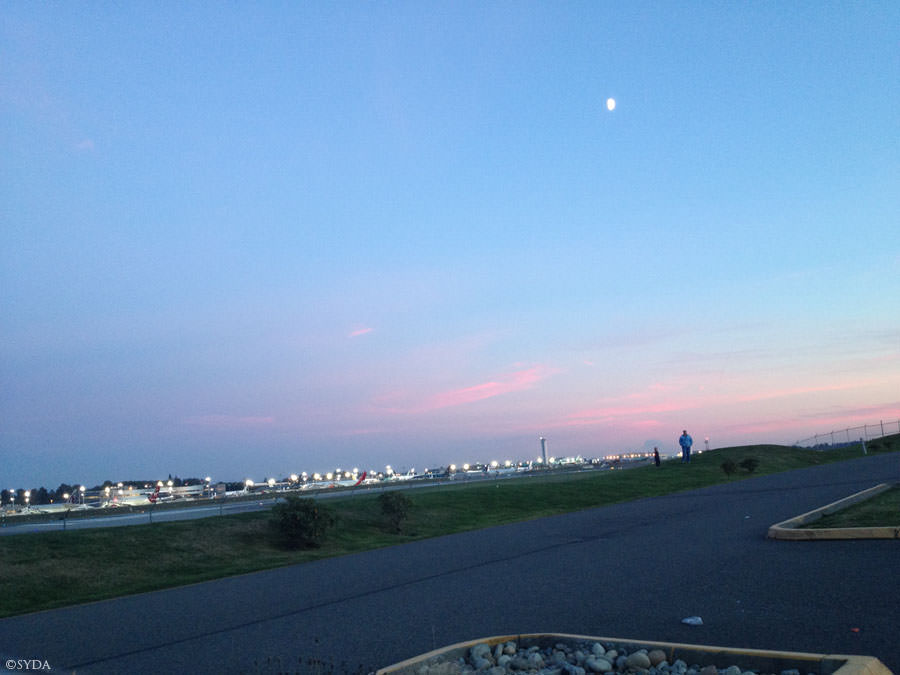
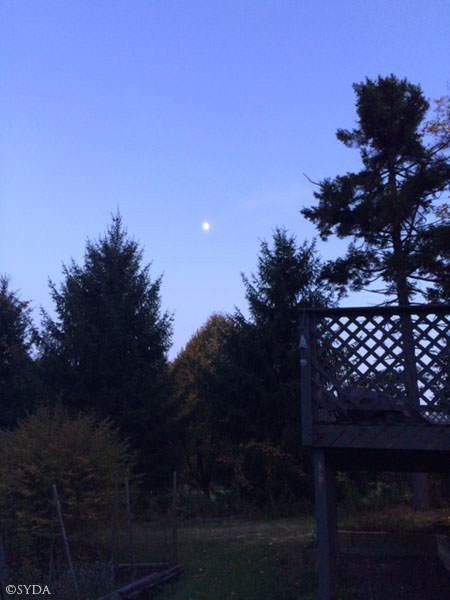
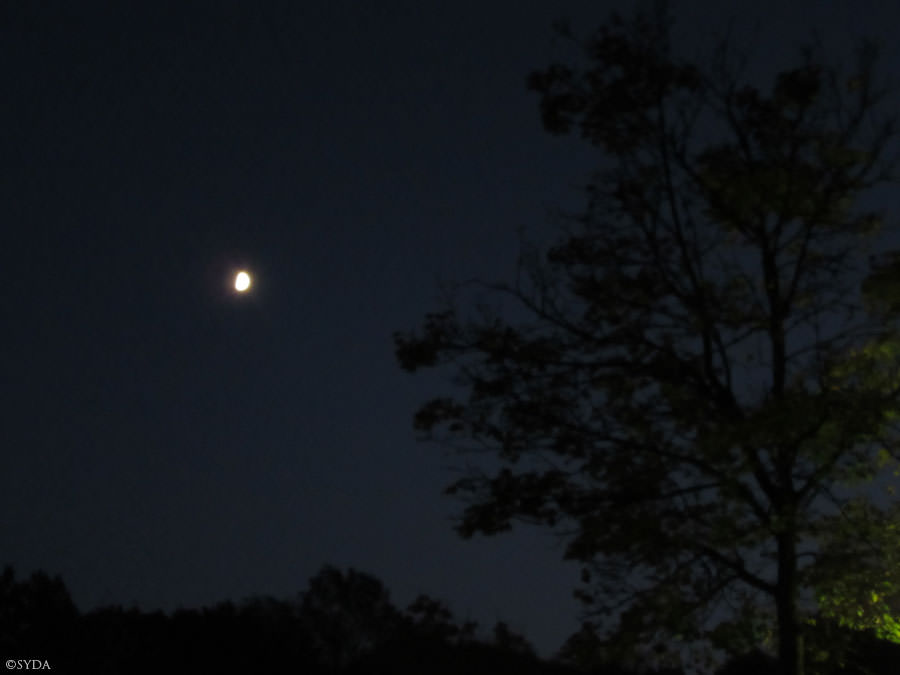
Moon over Patchogue, New York, USA
Moon over Sydney, Australia
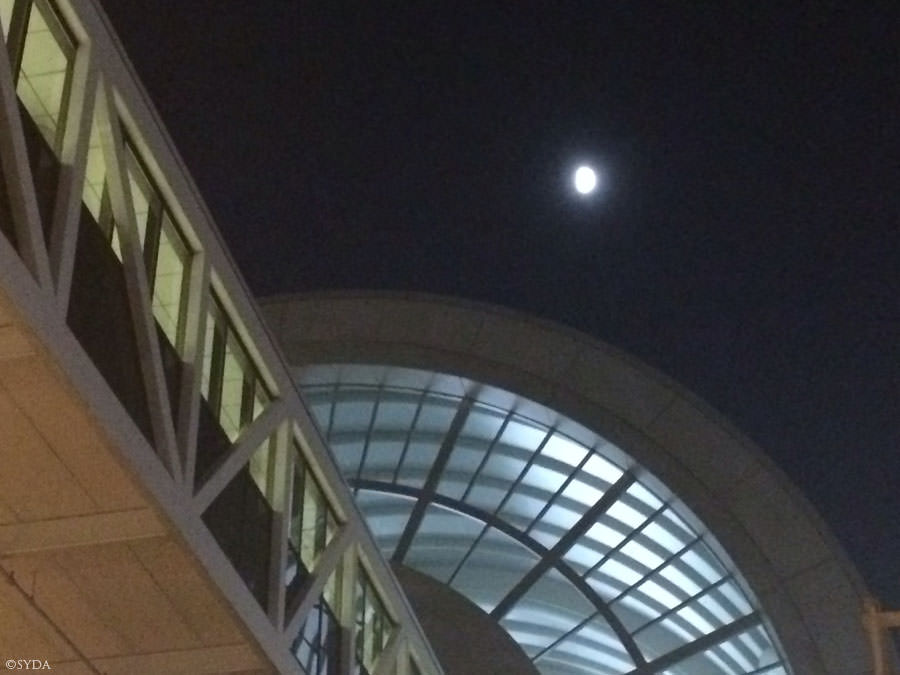
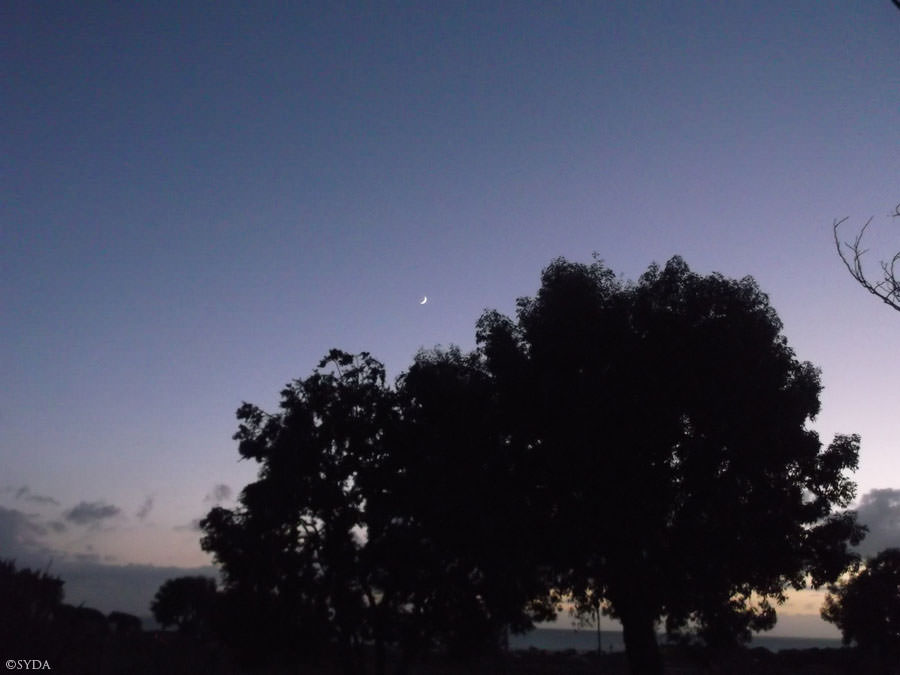
Moon over Saint Augustine, Florida, USA
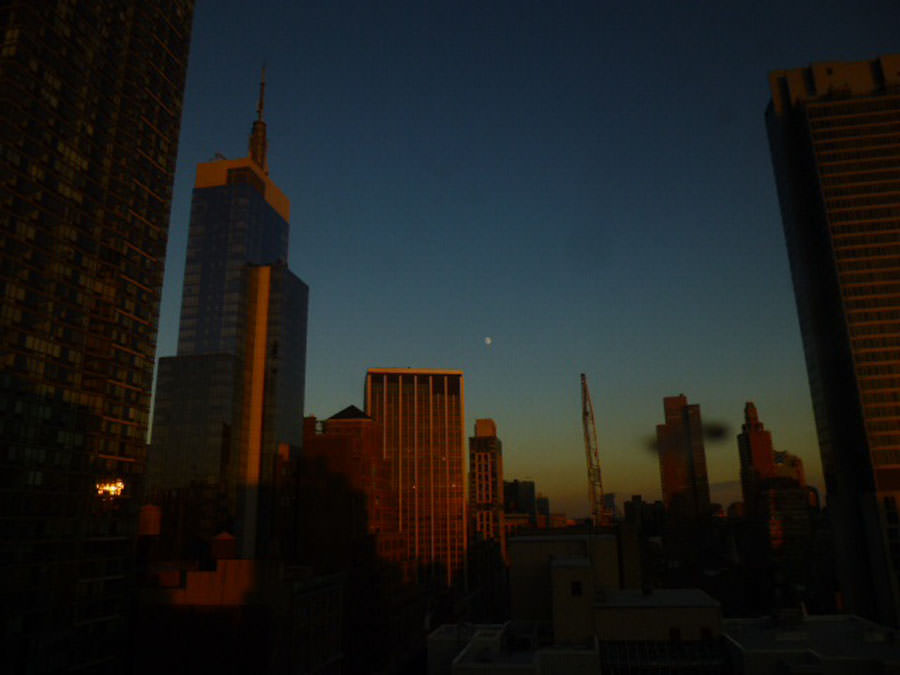
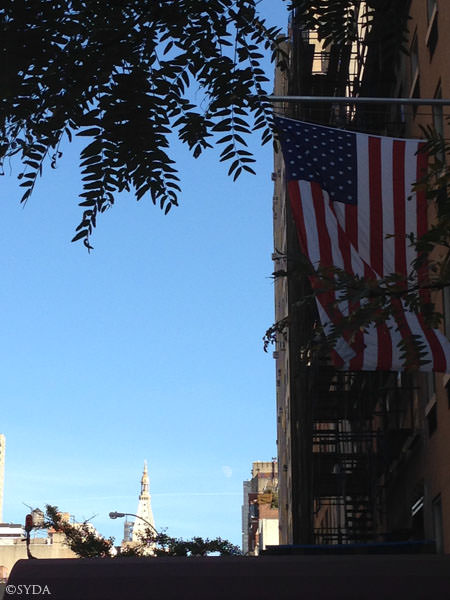
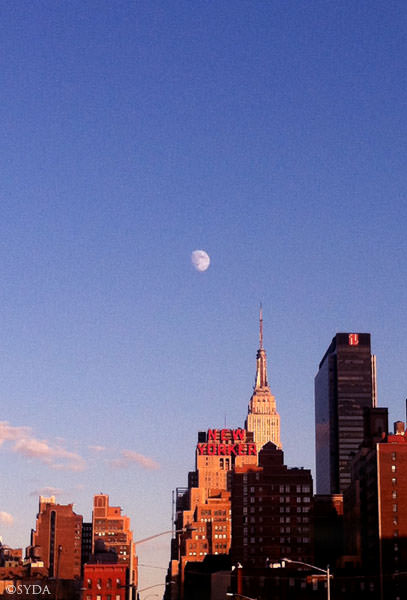
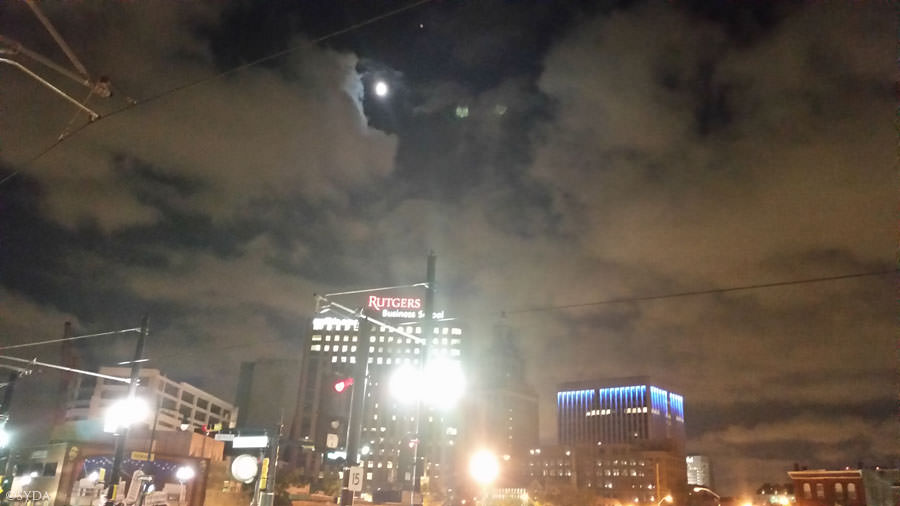
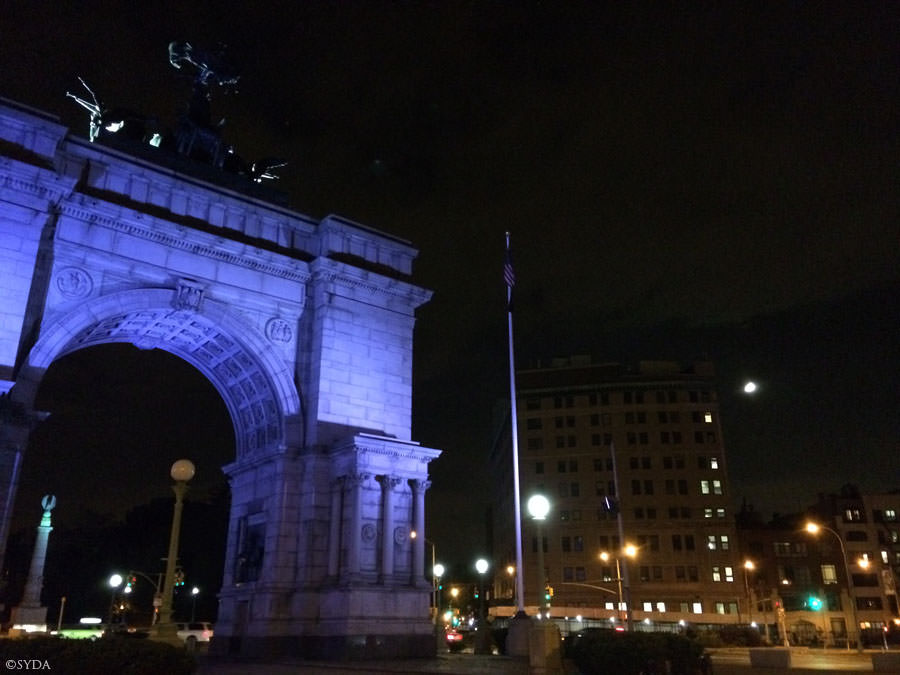
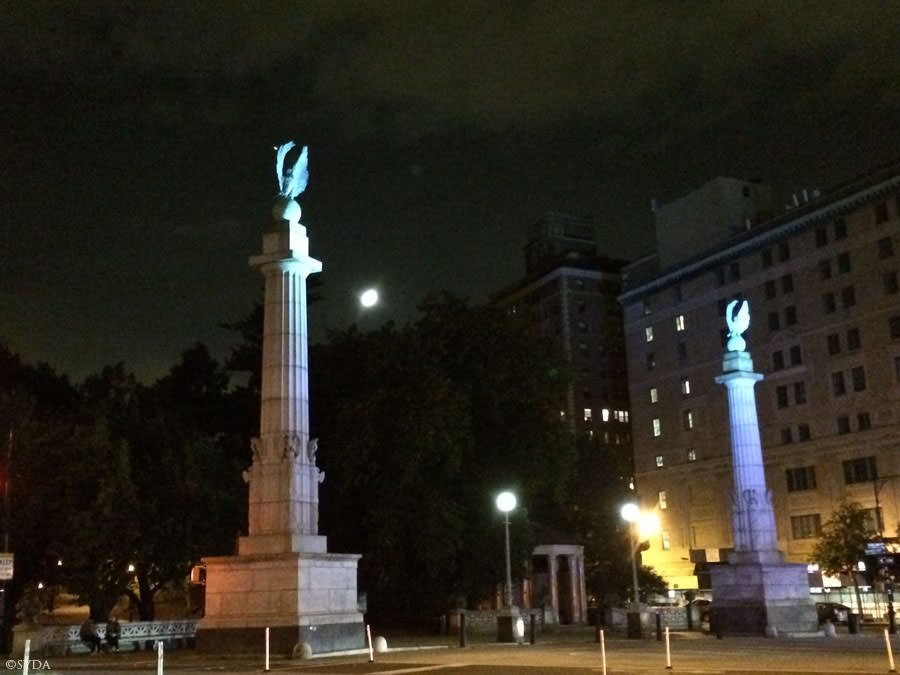
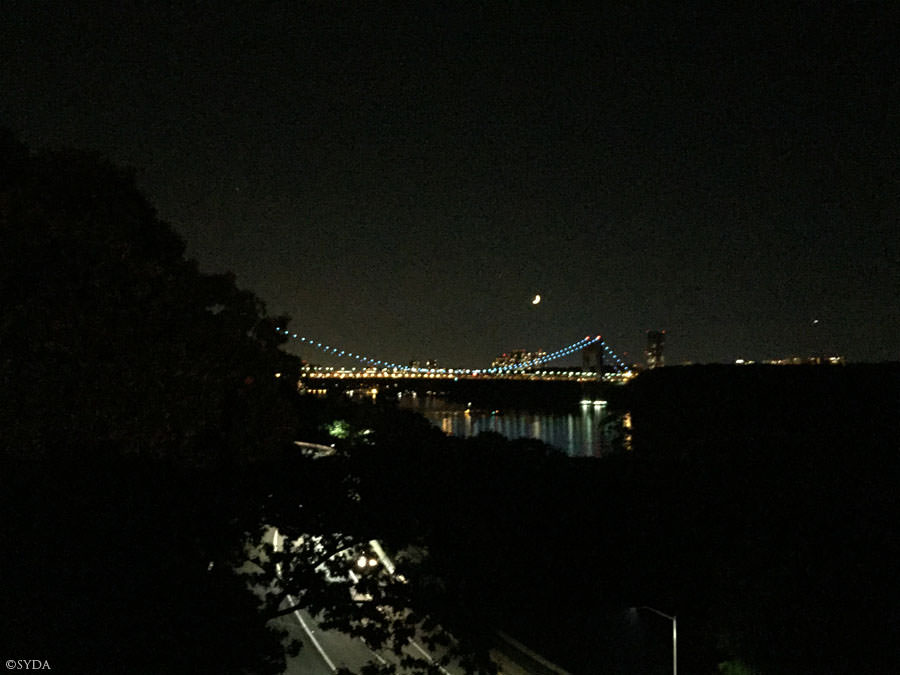
Moon over New York City, New York
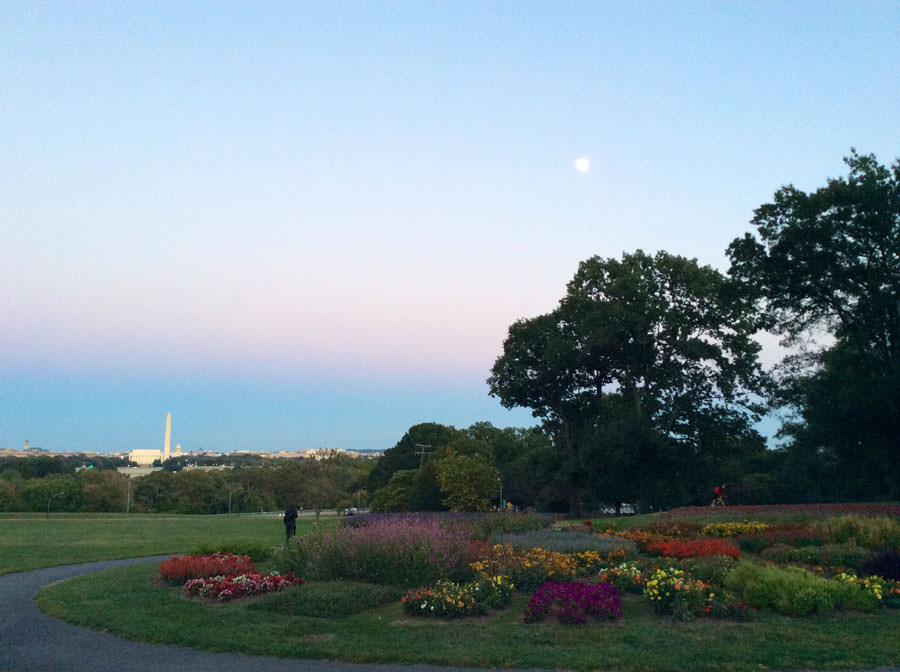
Moon over Arlington, Virginia
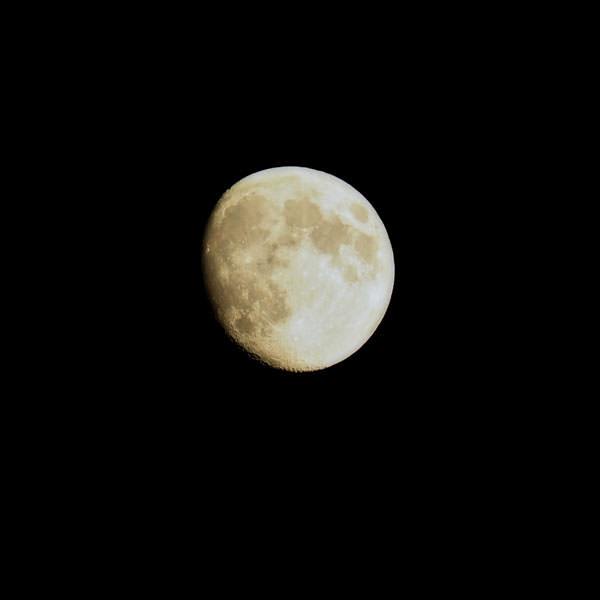
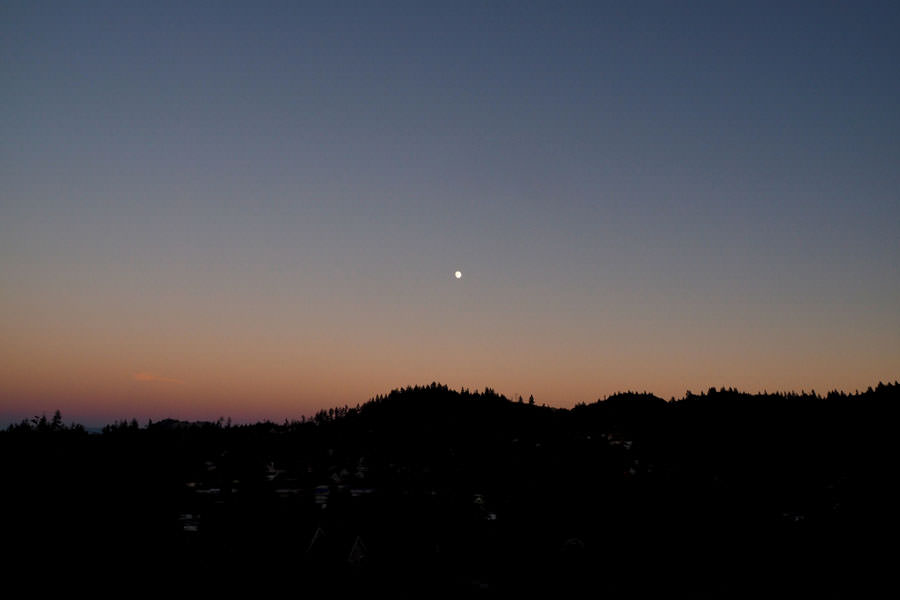
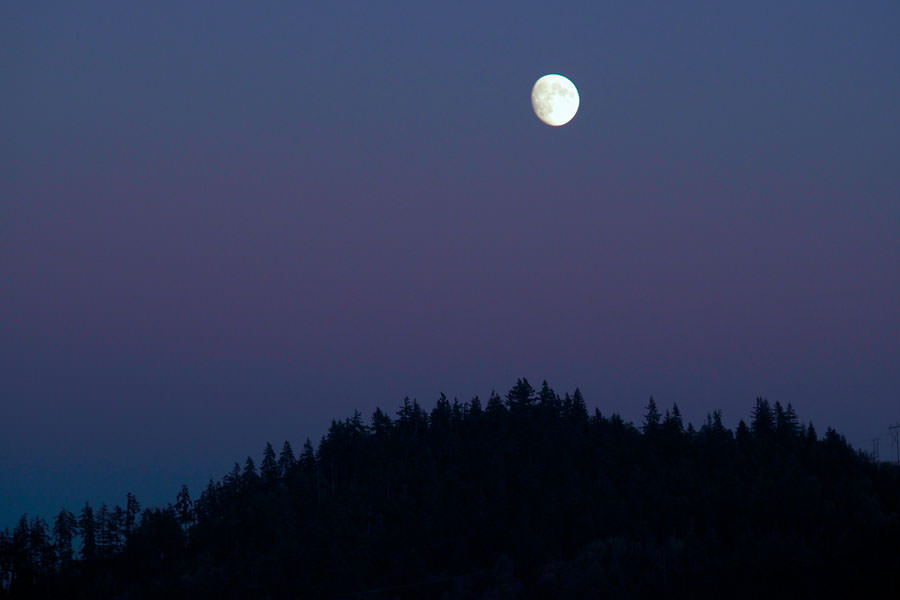
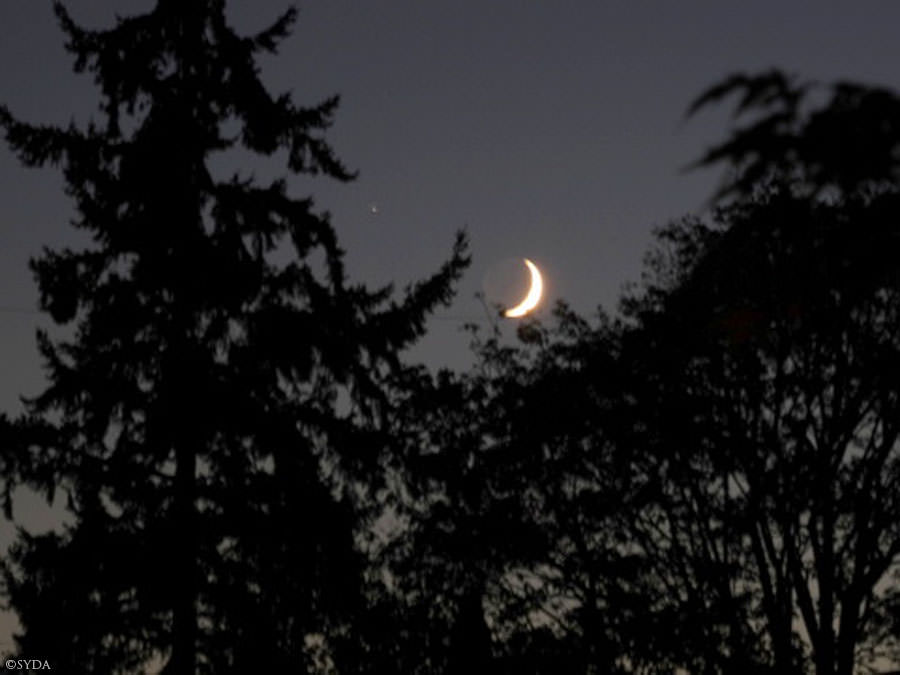
Moon over Eugene, Oregon, USA
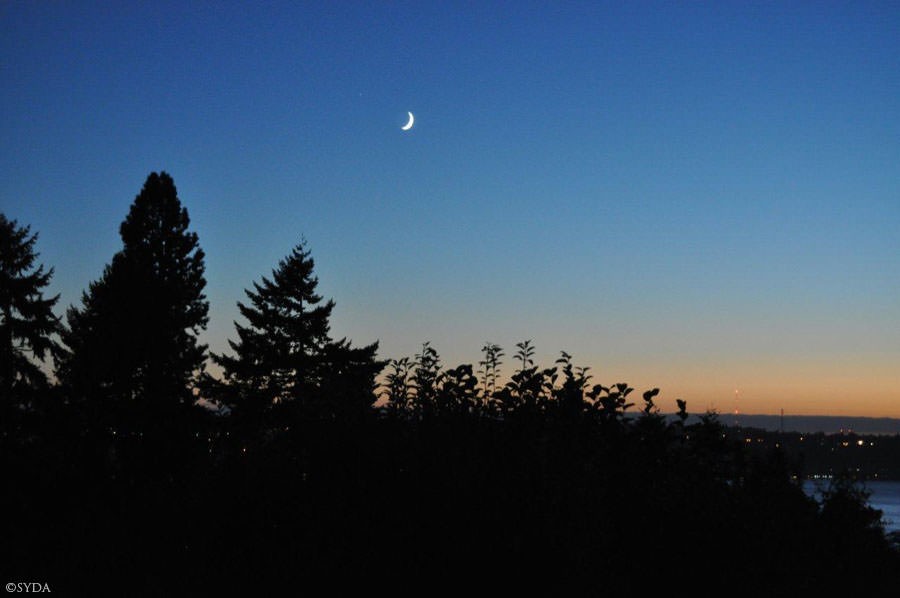
Moon over Eugene, Oregon, USA
Moon over Eugene, Oregon, USA
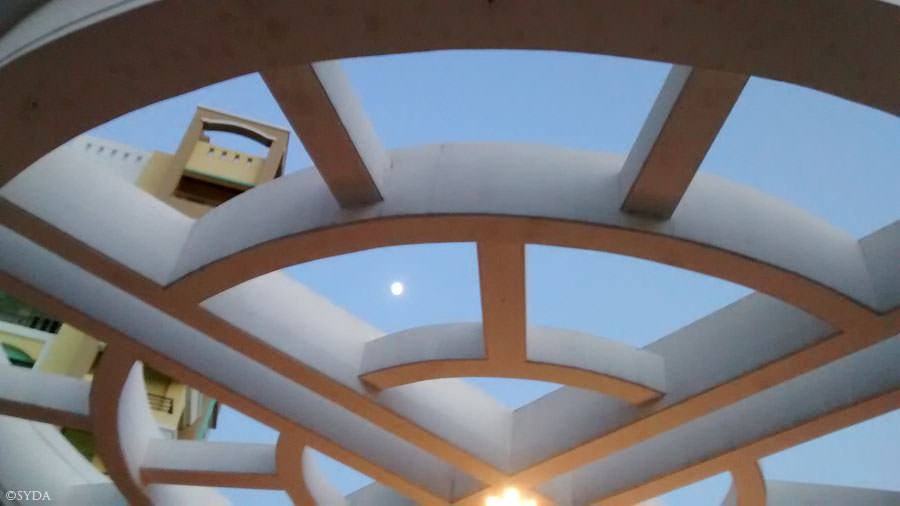
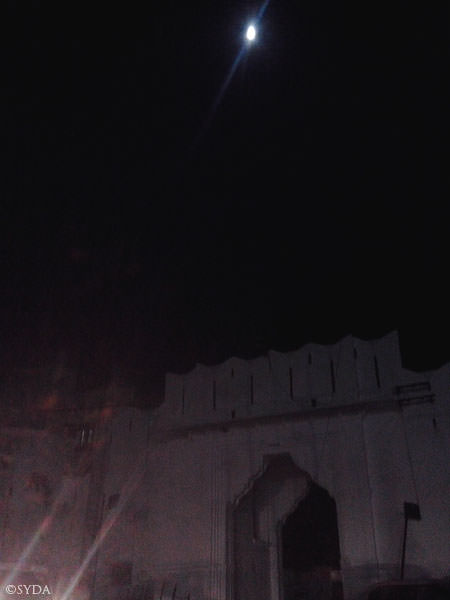
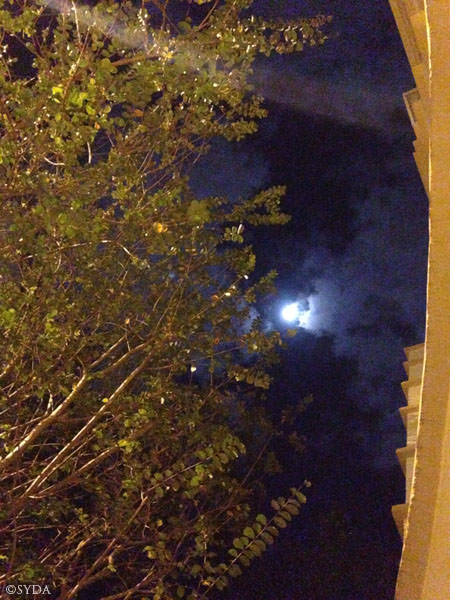
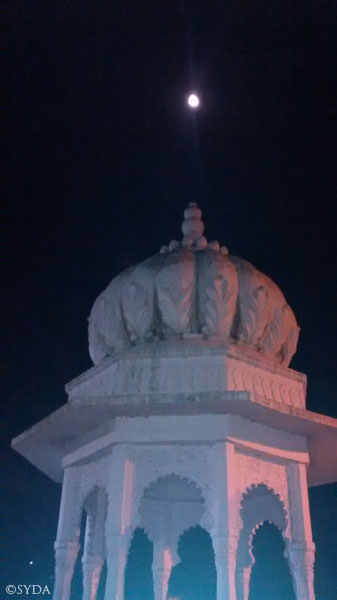
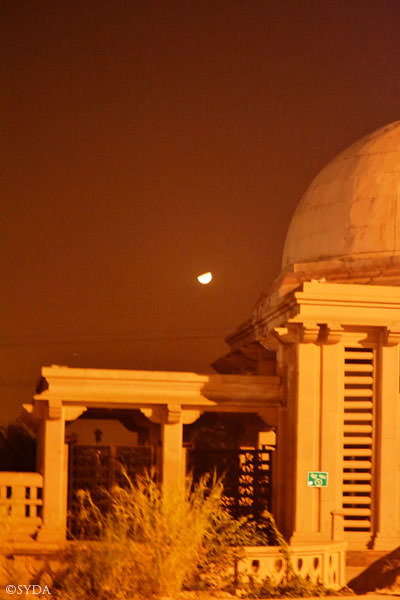
Moon over Udaipur, India
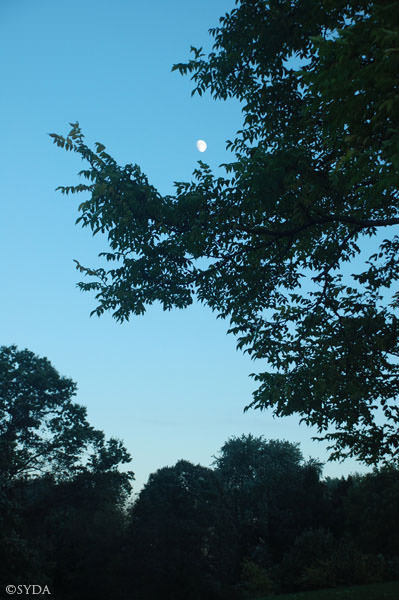
Moon over Ellicott City, Maryland, USA
Moon over Udaipur, India
Moon over Udaipur, India
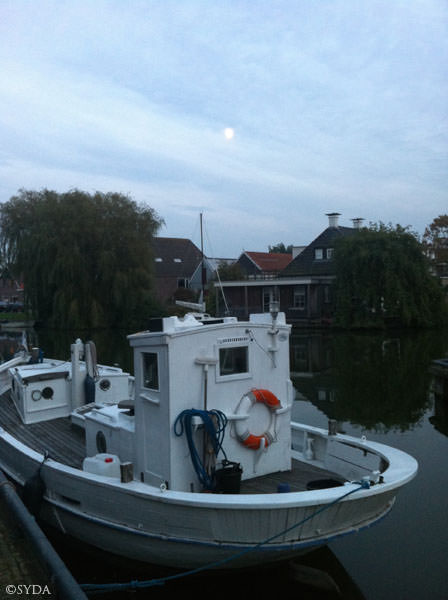
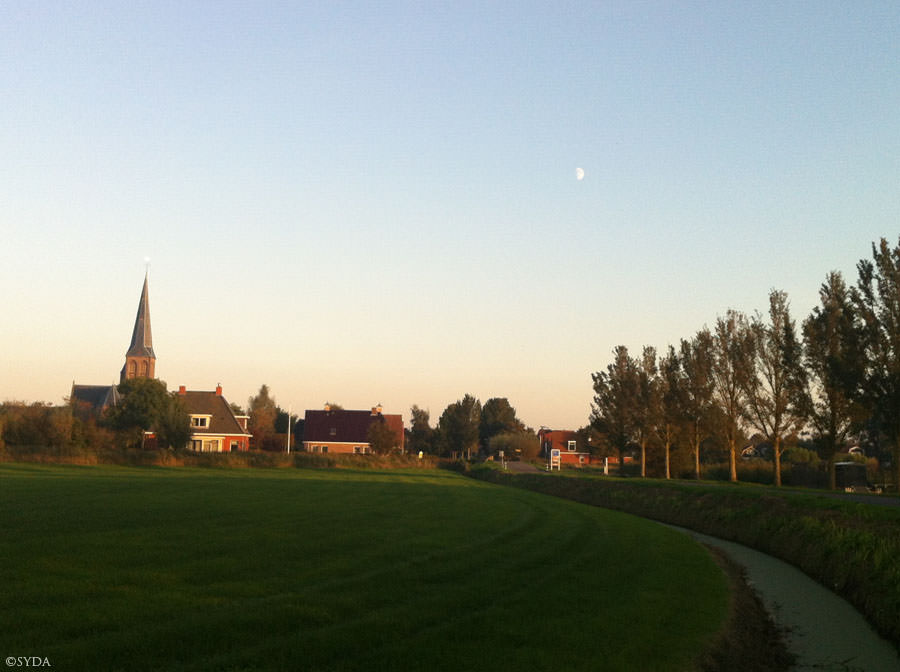
Moon over Makkum, Netherlands
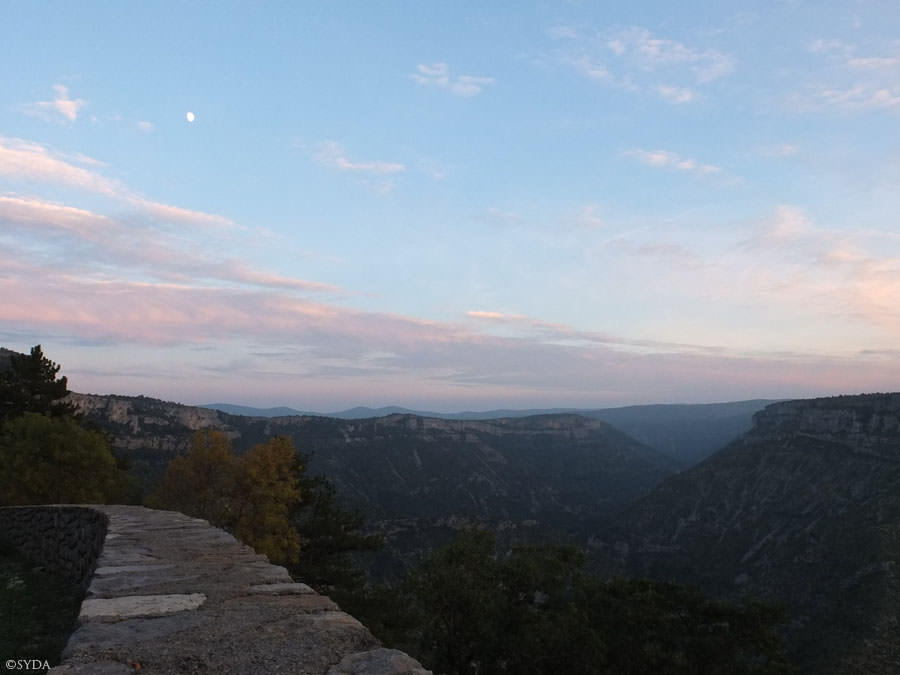
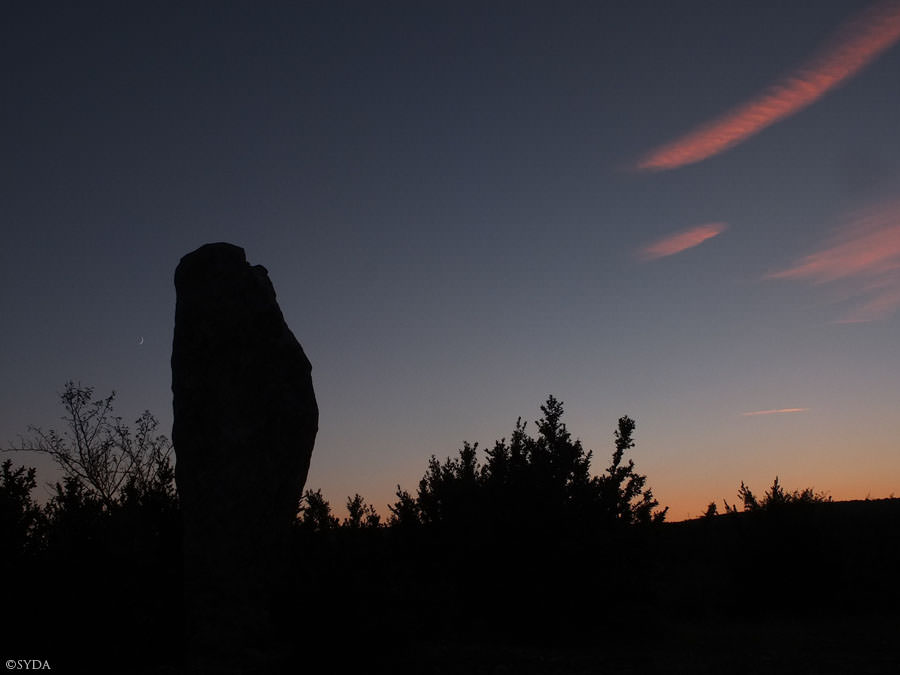
Moon over Blandas, France
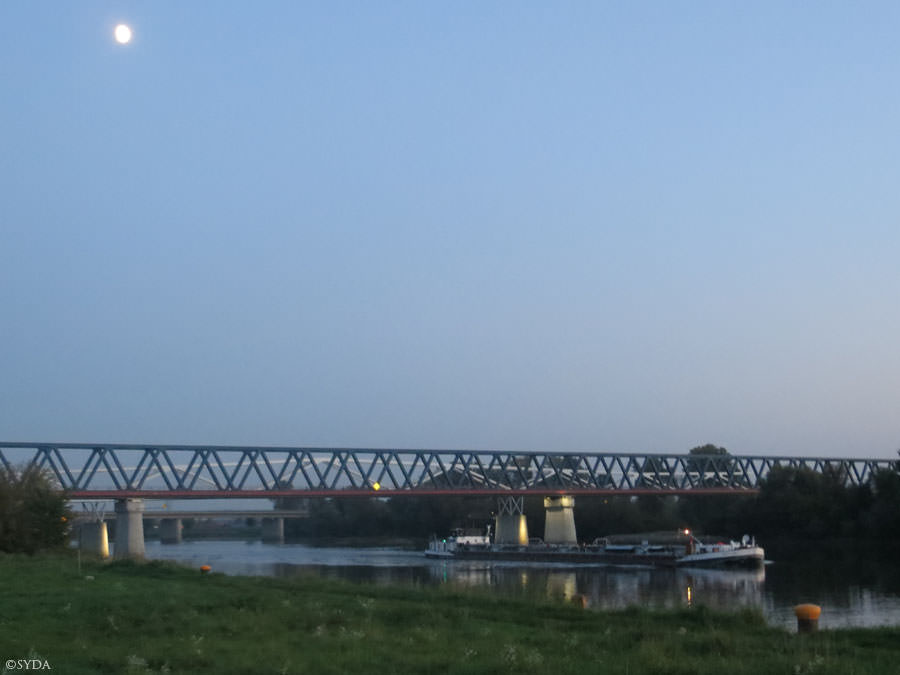
Moon over Danube, Deggendorf, Germany
Moon over New York, New York, USA
Moon over Hawthorn, Australia
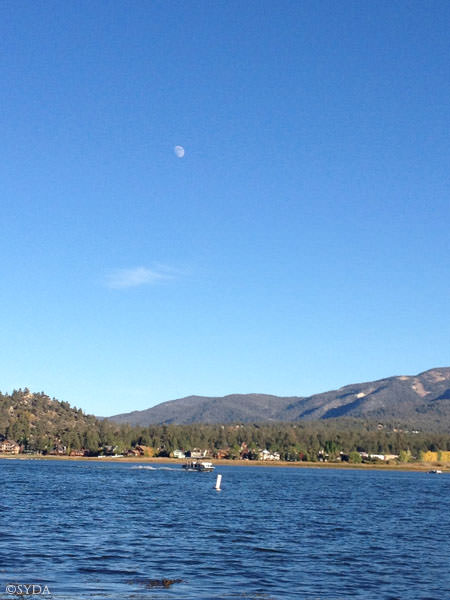
Moon over Big Bear Lake, California, USA
Moon over New York, New York, USA
Moon over Udaipur, India
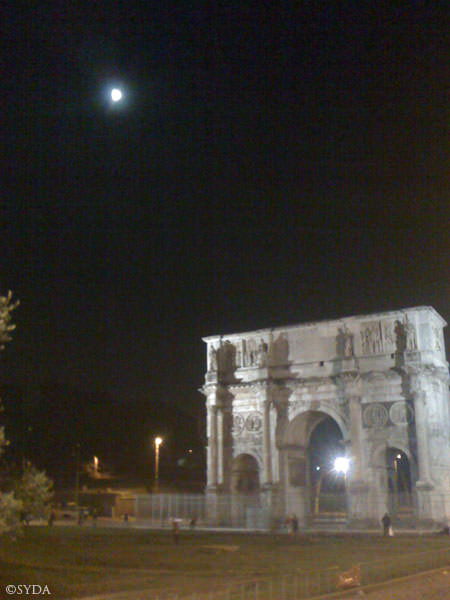
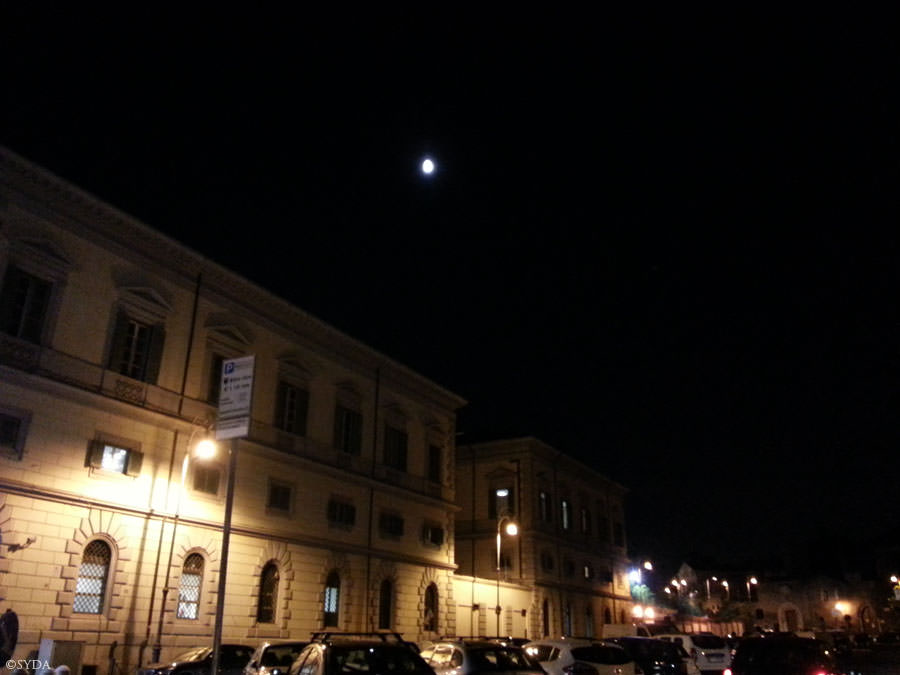
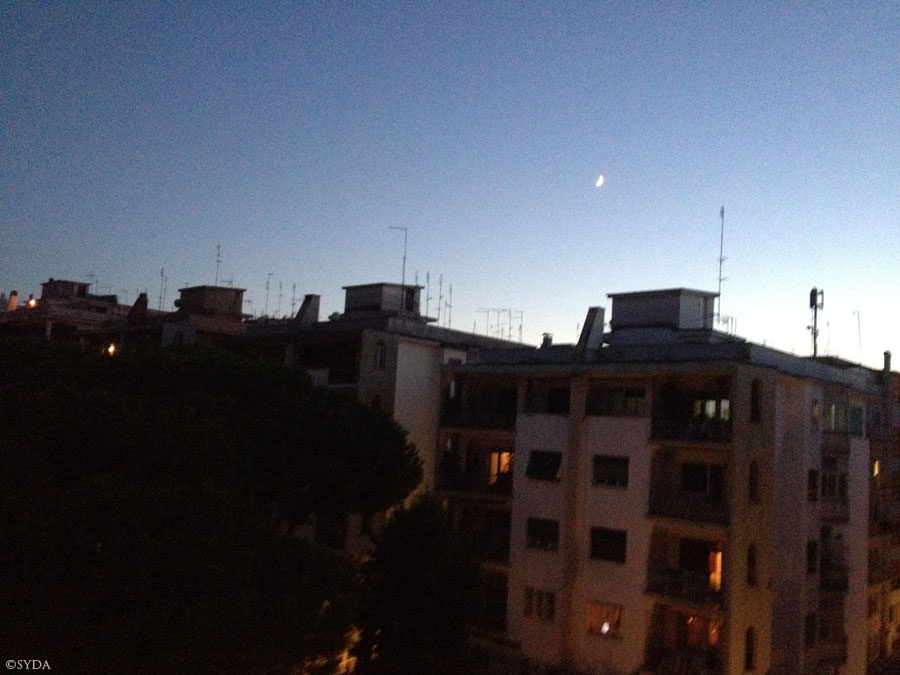
Moon over Italy, Rome
Moon over Italy, Rome
Moon over Rio de Janeiro, Brazil
Moon over Udaipur, India
Moon over Berlin, Germany
Moon over Italy, Rome
Moon over Großkarolinenfeld, Germany
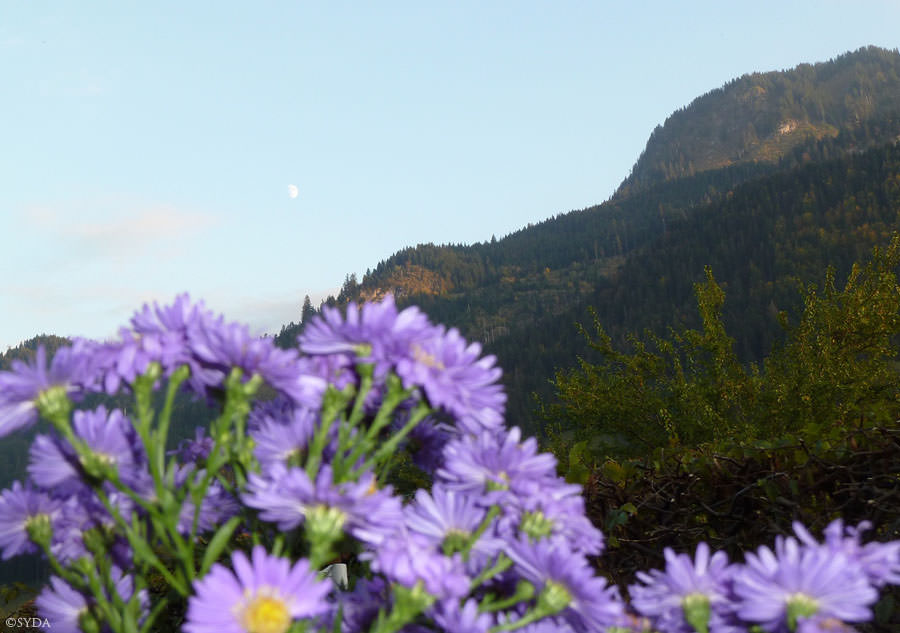
Moon over Bad Hindelang, Germany
Moon over Großkarolinenfeld, Germany
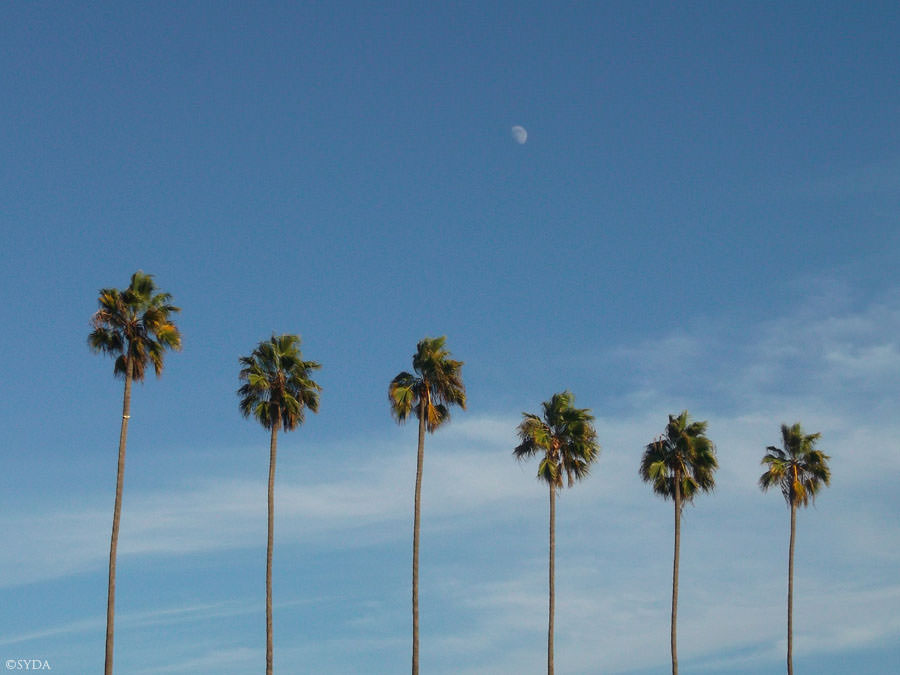
Moon over California, USA
Moon over Washington, USA
Moon over Bad Hindelang, Germany
Moon over Washington, USA
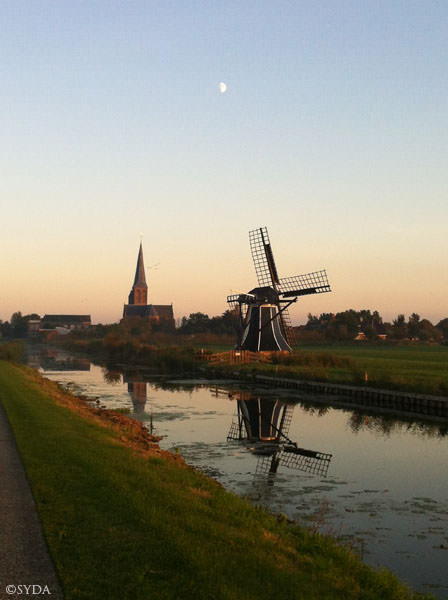
Moon over Workum, Netherlands
Moon over Workum, Netherlands
Moon over St. Kilda, Australia
Moon over Aichach, Germany
Moon over Pennsylvania, USA
Moon over Lyon, France
Moon over Montclair, USA
Moon over Makkum, Netherlands
Moon over California, USA
Moon over Delhi, India
Moon over Delhi, India
Moon over Hinvil, Switzerland
Moon over Gainesville, Florida, USA
Moon over Montreal, Canada
Moon over Washington, USA
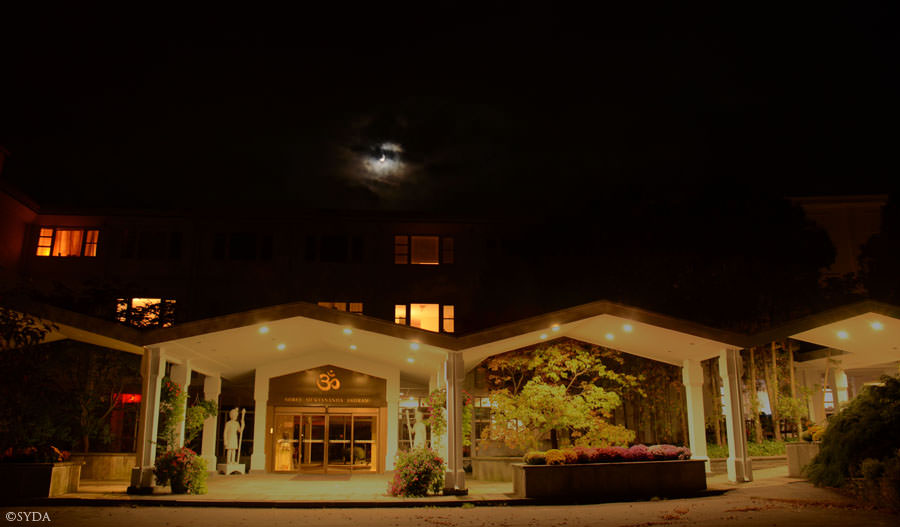
Moon over Shree Muktananda Ashram, USA
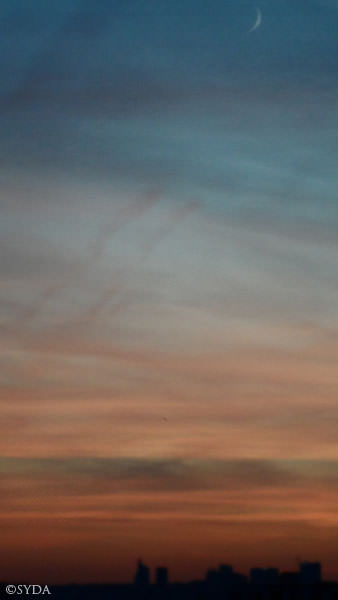
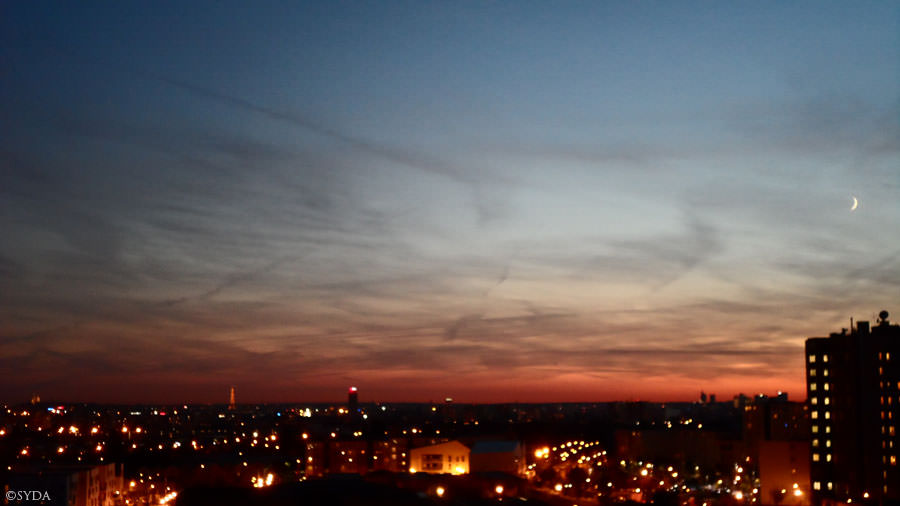
Moon over Paris, France
Moon over Magog, Québec, Canada
Moon over Rimini, Italy
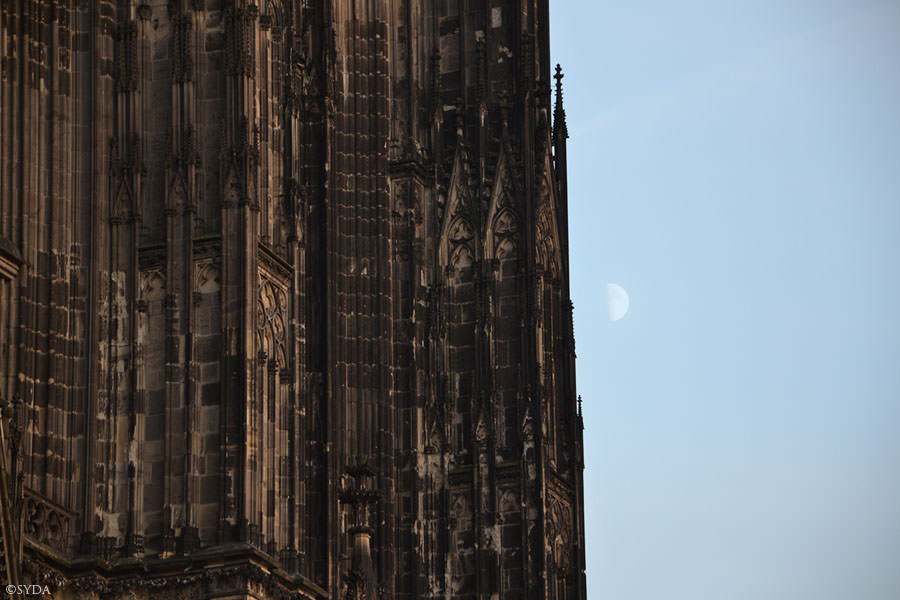
Moon over Cologne, Germany
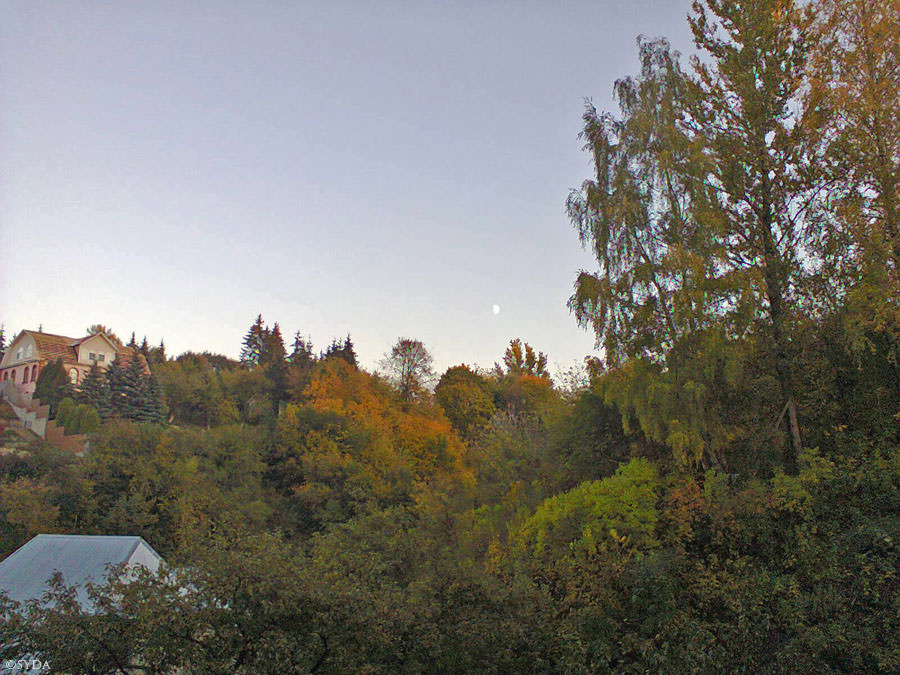
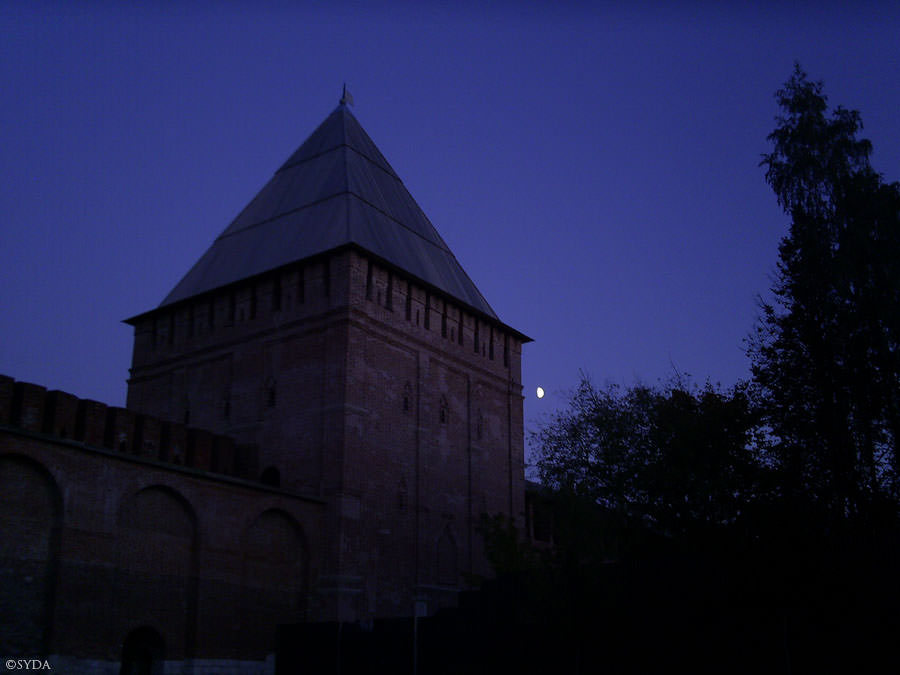
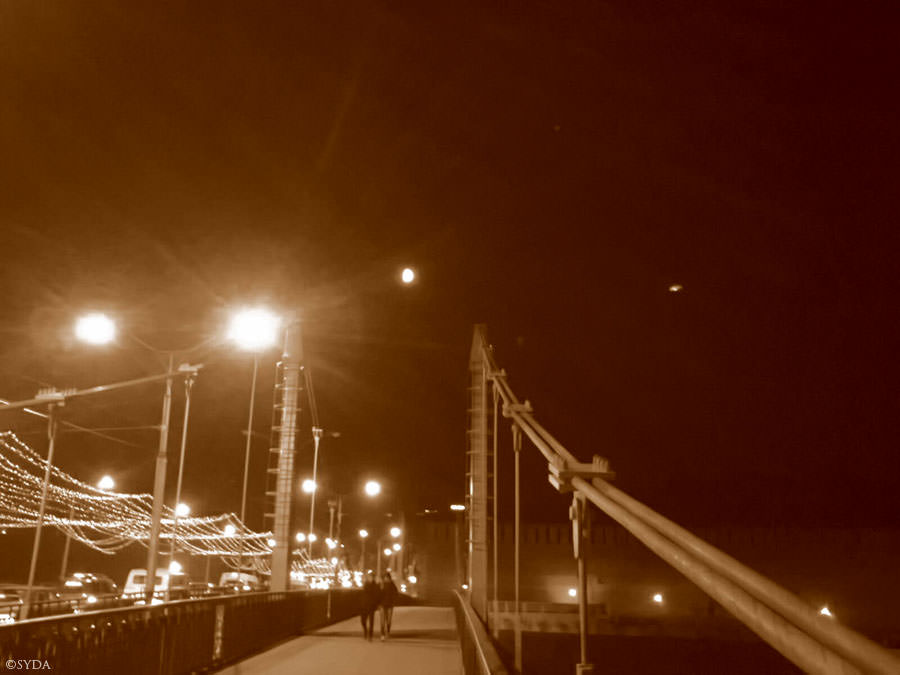
Moon over Smolensk, Russian Federation
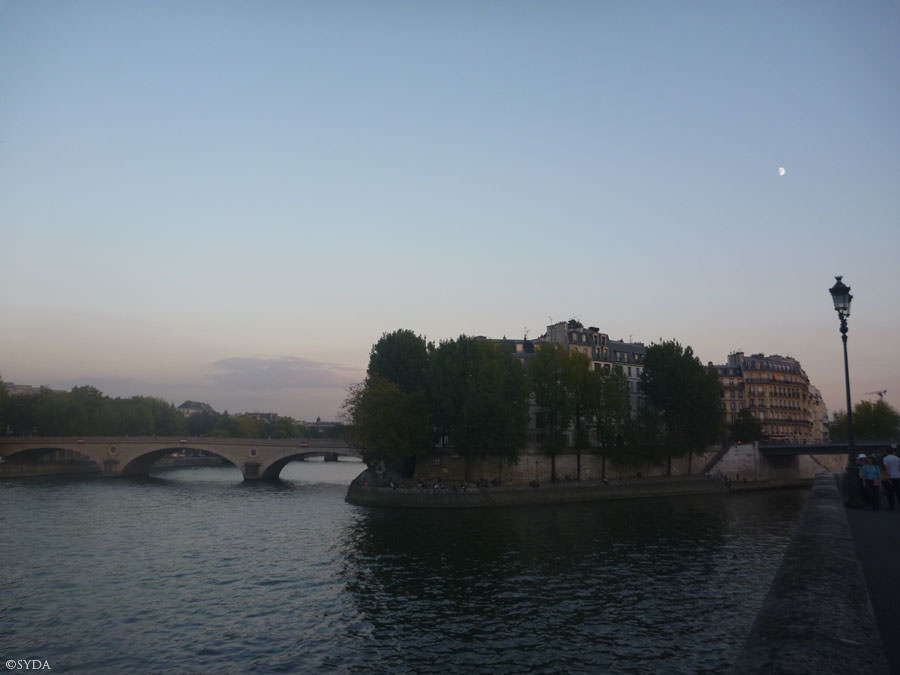
Moon over Paris, France
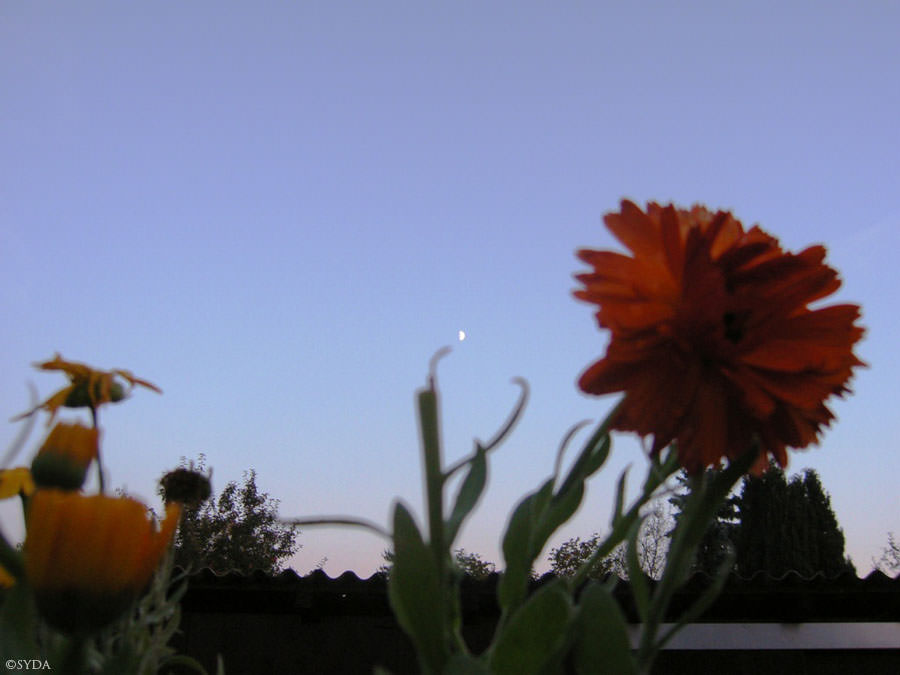
Moon over Ingolstadt, Germany
Moon over Blandas, France
Moon over Embrun, Ontario, Canada
Moon over Ingolstadt, Germany
Moon over Paris, France
Moon over Rochester, New York, USA
Moon over Cologne, Germany
Moon over Starnberg, Germany
Moon over Gainesville, Florida, USA
Moon over Magog, Québec, Canada
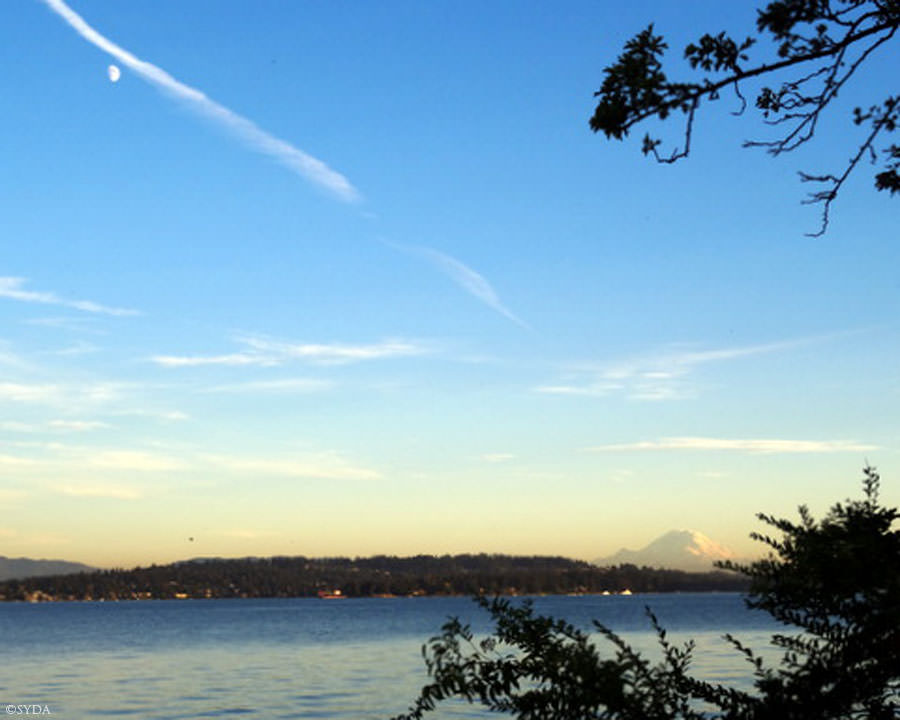
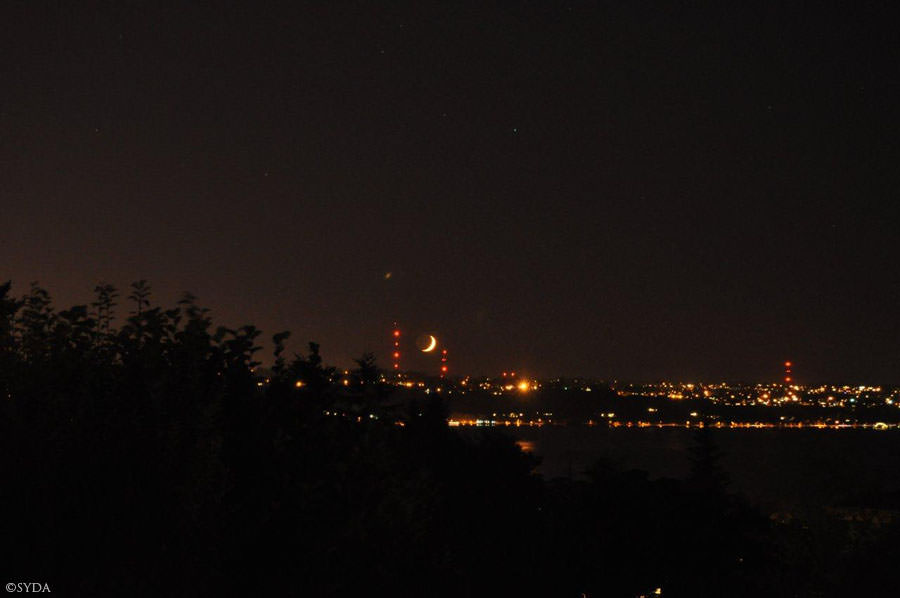
Moon over Seattle, Washington, USA
Moon over Smolensk, Russian Federation
Moon over Brooklyn, New York, USA
Moon over Seattle, Washington, USA
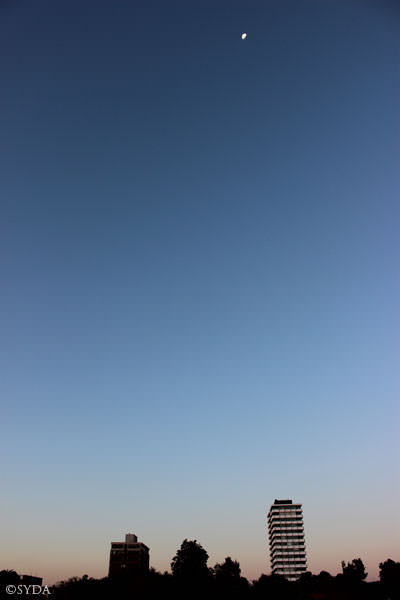
Moon over Bussum, Netherlands
Moon over Gainesville, Florida, USA
Moon over Topeka, Kansas, USA
Moon over Oakland, California, USA
Moon over Munich, Germany
Moon over Smolensk, Russian Federation
Moon over Brooklyn, New York, USA
Moon over Shree Muktananda Ashram, USA
Moon over Shree Muktananda Ashram, USA
Moon over Smolensk, Russian Federation
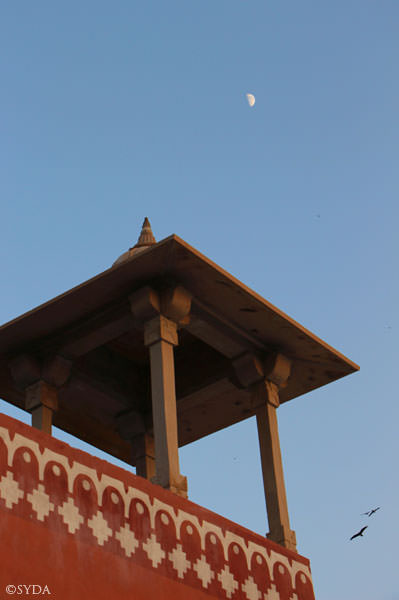
Moon over Jaipur, India
Moon over Jaipur, India
Moon over Garges lès gonesse, France
Moon over Mexico City, Mexico
Moon over Smolensk, Russian Federation
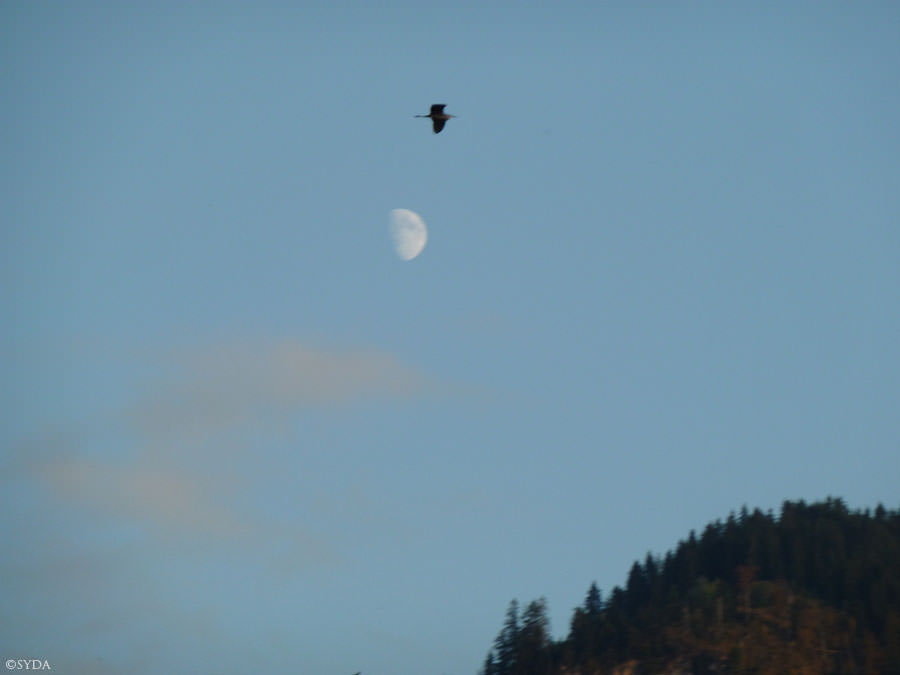
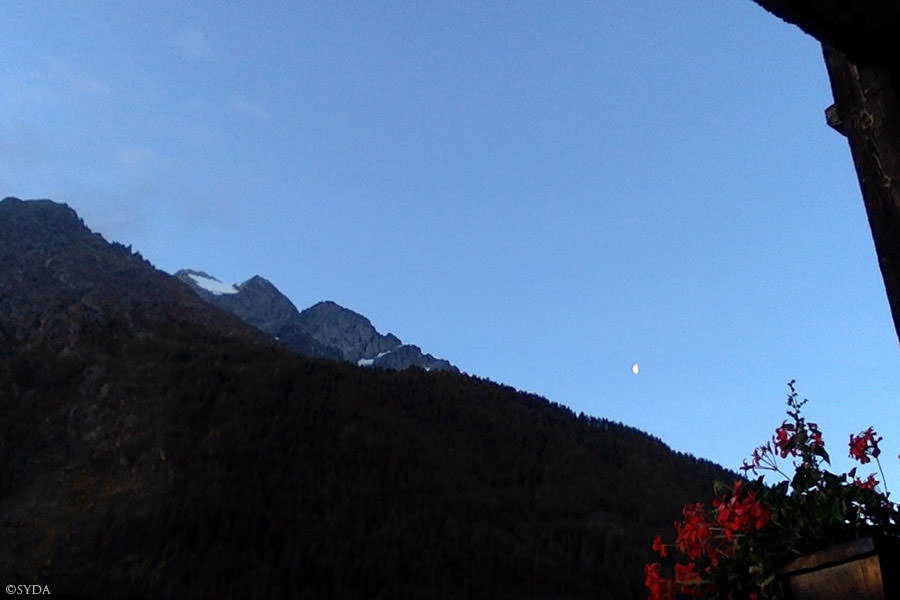
Moon over Allgaeuer Alpen, Germany
Moon over La Meije, France
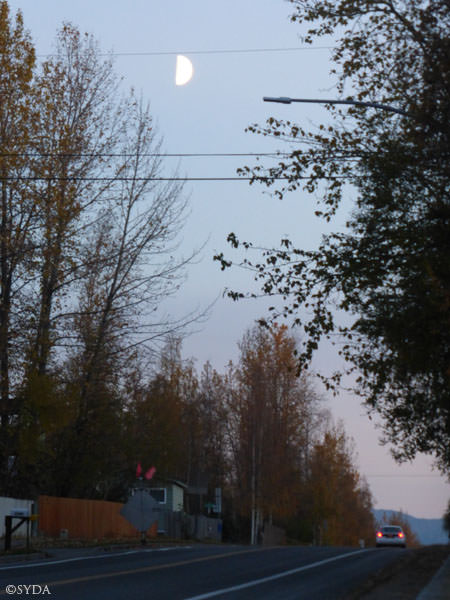
Moon over Anchorage, Alaska, USA
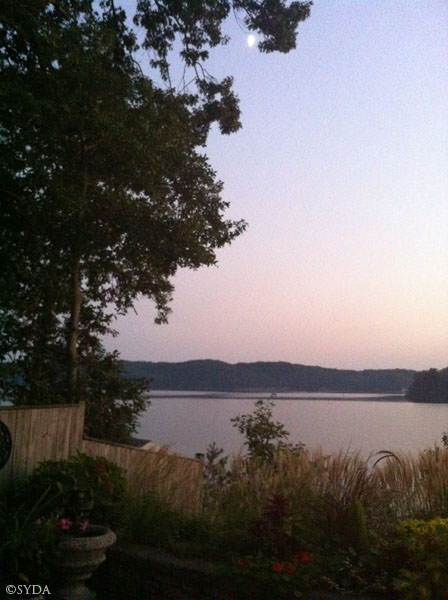
Moon over Long Point, Maryland, USA
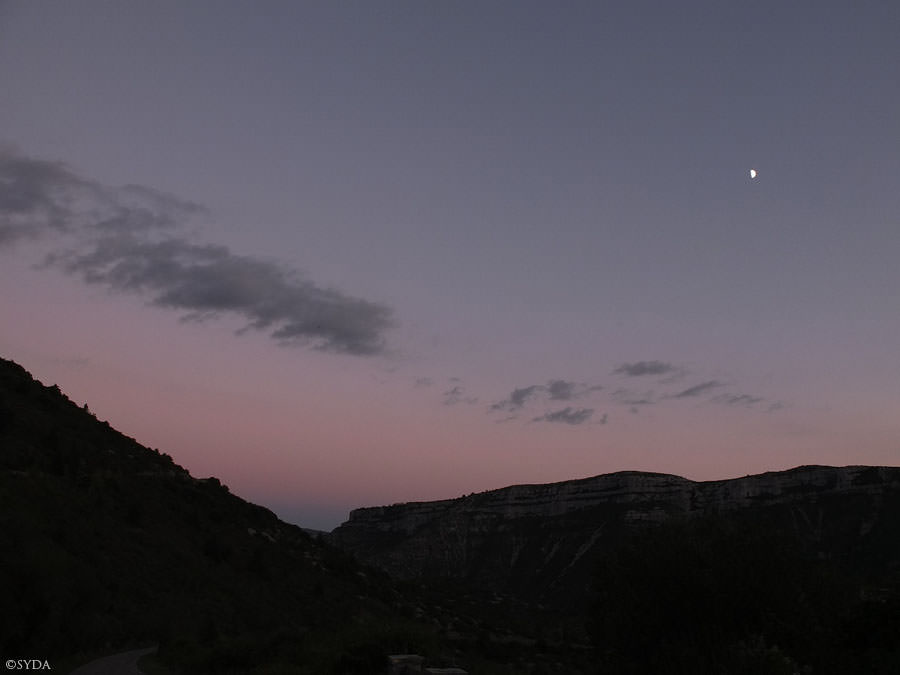
Moon over Balandas, France, USA
Moon over Balandas, France, USA
Moon over Gopa, Sweden
Moon over Elliot City, Maryland, USA
Moon over Arlington, Virginia, USA
Moon over Ingolstadt, Germany
Moon over Purcellville, Virginia, USA
Moon over Island Heights, USA
Moon over Tacoma, Washington, USA
Moon over Purcellville, Virginia, USA
Moon over Cardiff, California, USA
Moon over Crownsville, Maryland, USA
Moon over Kattleberg älvängen, Sweden
Moon over Arlington, Virginia, USA
Moon over Melbourne, Australia
Moon over North Fitzroy, Australia
Moon over North Fitzroy, Australia
Moon over Egelsbach, Germany
Moon over Bussum, Netherlands
Moon over Delhi, India
Moon over Verbania, Italy
Moon over Shree Muktananda Ashram, USA
Moon over Shree Muktananda Ashram, USA
Moon over Pune, India
Moon over Deggendorf, Germany
Moon over Oakland, California, USA
Moon over Garges-lès-gonesse, France
Moon over Delhi, India
Moon over Topeka, Kansas, USA
Moon over Pune, India
Moon over Deggendorf, Germany
Moon over Melbourne, Australia
Moon over Annapolis, Maryland, USA
Moon over Middletown, New York, USA
Moon over Shree Muktananda Ashram, USA
Moon over Shree Muktananda Ashram, USA
Moon over Santa Rosa, California, USA
Moon over Shree Muktananda Ashram, USA
Moon over Topkea, Kansas, USA
Moon over Ingolstadt, Germany
Moon over Sag Harbor, New York, USA
Moon over Sag Harbor, New York, USA
Moon over Sag Harbor, New York, USA
Moon over Shree Muktananda Ashram
Moon over Blandas, France
Moon over Kempten, Germany
Moon over Kempten, Germany
Moon over Kempten, Germany
Moon over Egelsbach, Germany
Moon over Maryland, Annapolis, USA
Moon over Aver, Massachusetts, USA
Moon over New York, New York, USA
Moon over Cardiff, California, USA
Moon over Seattle, Washington, USA
Moon over Tacoma, Washington, USA
Moon over Tacoma, Washington, USA
Moon over North Bondi, Australia
Moon over Garges lès Gonesse, France
Moon over Garges lès Gonesse, France
Moon over Delhi, India
Moon over Delhi, India
Moon over Shree Muktananda Ashram, USA
Moon over Mersin, Turkey
Moon over Egelsbach, Germany
Moon over Egelsbach, Germany
Moon over Shree Muktananda Ashram, USA
Moon over Shree Muktananda Ashram, USA
Moon over Shree Muktananda Ashram, USA
Moon over Shree Muktananda Ashram, USA
Moon over Shree Muktananda Ashram, USA
Moon over Shree Muktananda Ashram, USA
Moon over Shree Muktananda Ashram, USA
Moon over Melbourne, Australia
Moon over Roselands, Australia
Moon over Roselands, Australia
Moon over Blandas, France
Moon over Middletown New York, USA
Moon over Maryland, Annapolis, USA
Moon over Shree Muktananda Ashram, USA
Moon over Shree Muktananda Ashram, USA
Moon over Topeka, Kansas, USA
Moon over Shree Muktananda Ashram, USA
Moon over Shree Muktananda Ashram, USA
Moon over Topeka, Kansas, USA
Moon over Shree Muktananda Ashram, USA
Moon over Shree Muktananda Ashram, USA
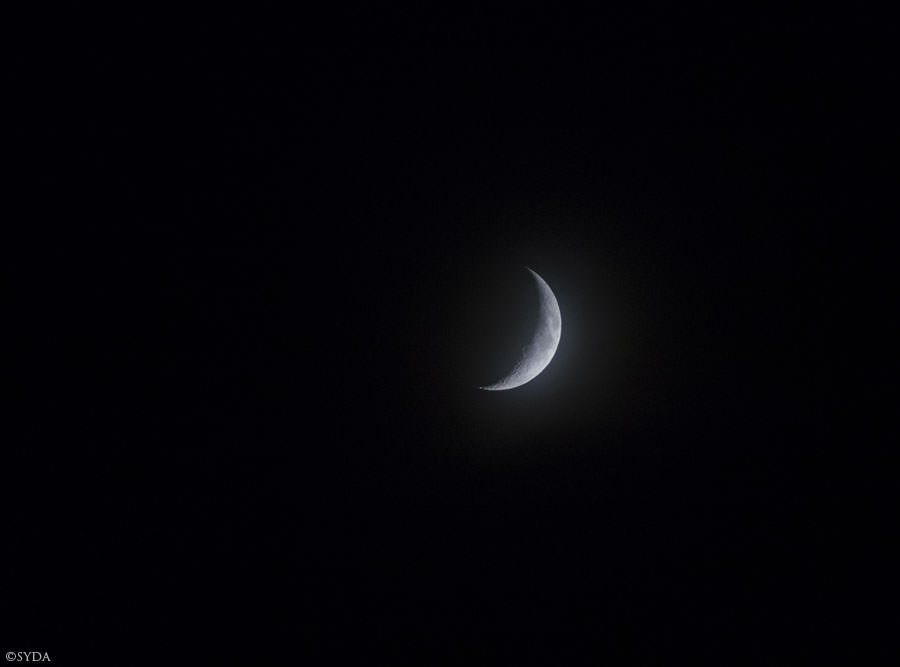
As soon as I looked at the full moon in the sky, I experienced crystal-pure love deep in my heart. I connected with the energy that is continuously vibrating there. I felt that we were all together.
This beautiful presentation of all these amazing images of the moon shows me how big our world is, and how filled with Baba’s full-moon blessings. No matter where I am, the blessings and love of Bade Baba, Baba, and Gurumayi ji will always be with me and my loved ones.
Dhanyavad, Gurumayi ji.
This beautiful presentation of all these amazing images of the moon shows me how big our world is, and how filled with Baba’s full-moon blessings. No matter where I am, the blessings and love of Bade Baba, Baba, and Gurumayi ji will always be with me and my loved ones.
Dhanyavad, Gurumayi ji.
Ghoti, India
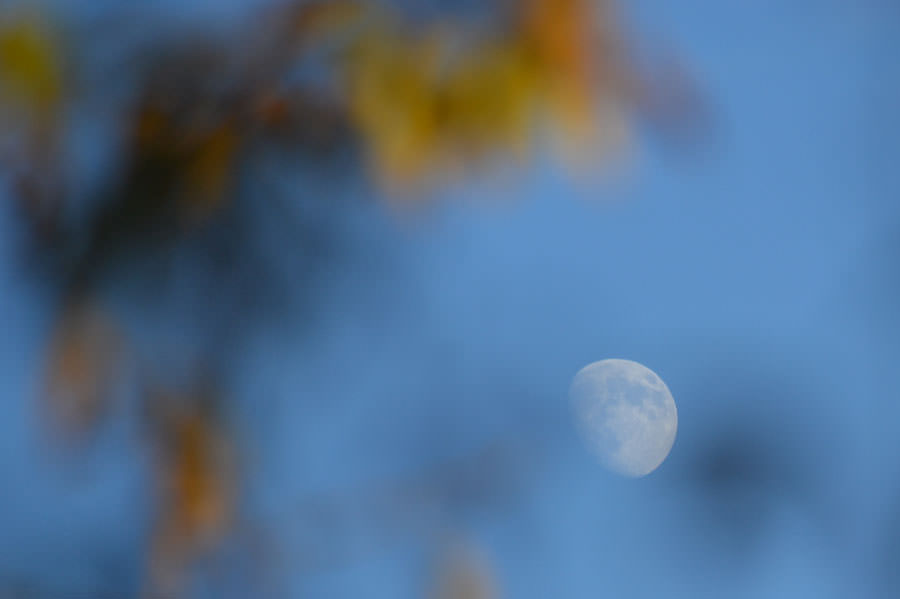
Last week, my young granddaughter and I took a short walk outside. It was a bright, crisp autumn day, and the air was filled with the lovely smell of leaves resting upon the earth.
All of a sudden, my granddaughter said, "Look, look up, Grandma! The moon is in the sky. It is so beautiful." We both paused in the precious silence of the mystical moment, gazing up at the daytime wonder. I then shared with her that the moon we see in the sky is the same moon seen by children around the world, and I showed her some of Baba’s Moon photos from the website. Her little eyes widened as she looked at them and exclaimed, "Oh, Grandma, I just love nature!”
All of a sudden, my granddaughter said, "Look, look up, Grandma! The moon is in the sky. It is so beautiful." We both paused in the precious silence of the mystical moment, gazing up at the daytime wonder. I then shared with her that the moon we see in the sky is the same moon seen by children around the world, and I showed her some of Baba’s Moon photos from the website. Her little eyes widened as she looked at them and exclaimed, "Oh, Grandma, I just love nature!”
New York, USA
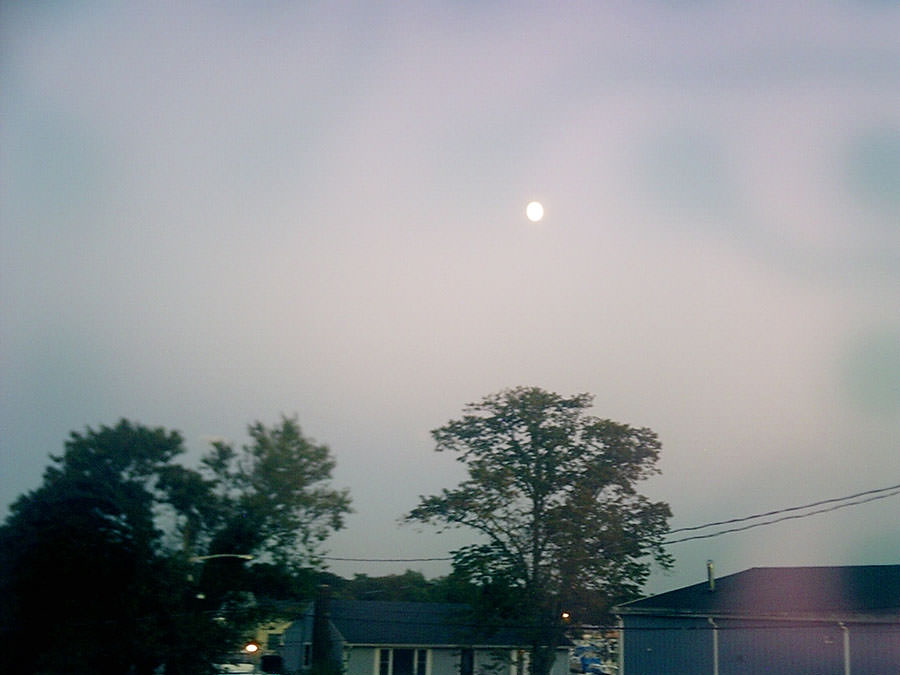
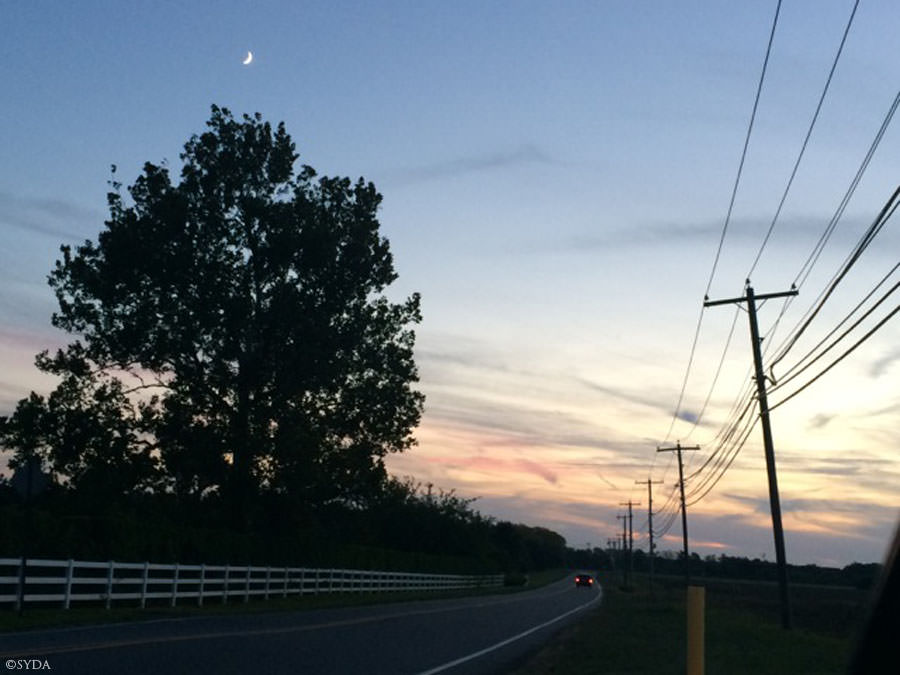
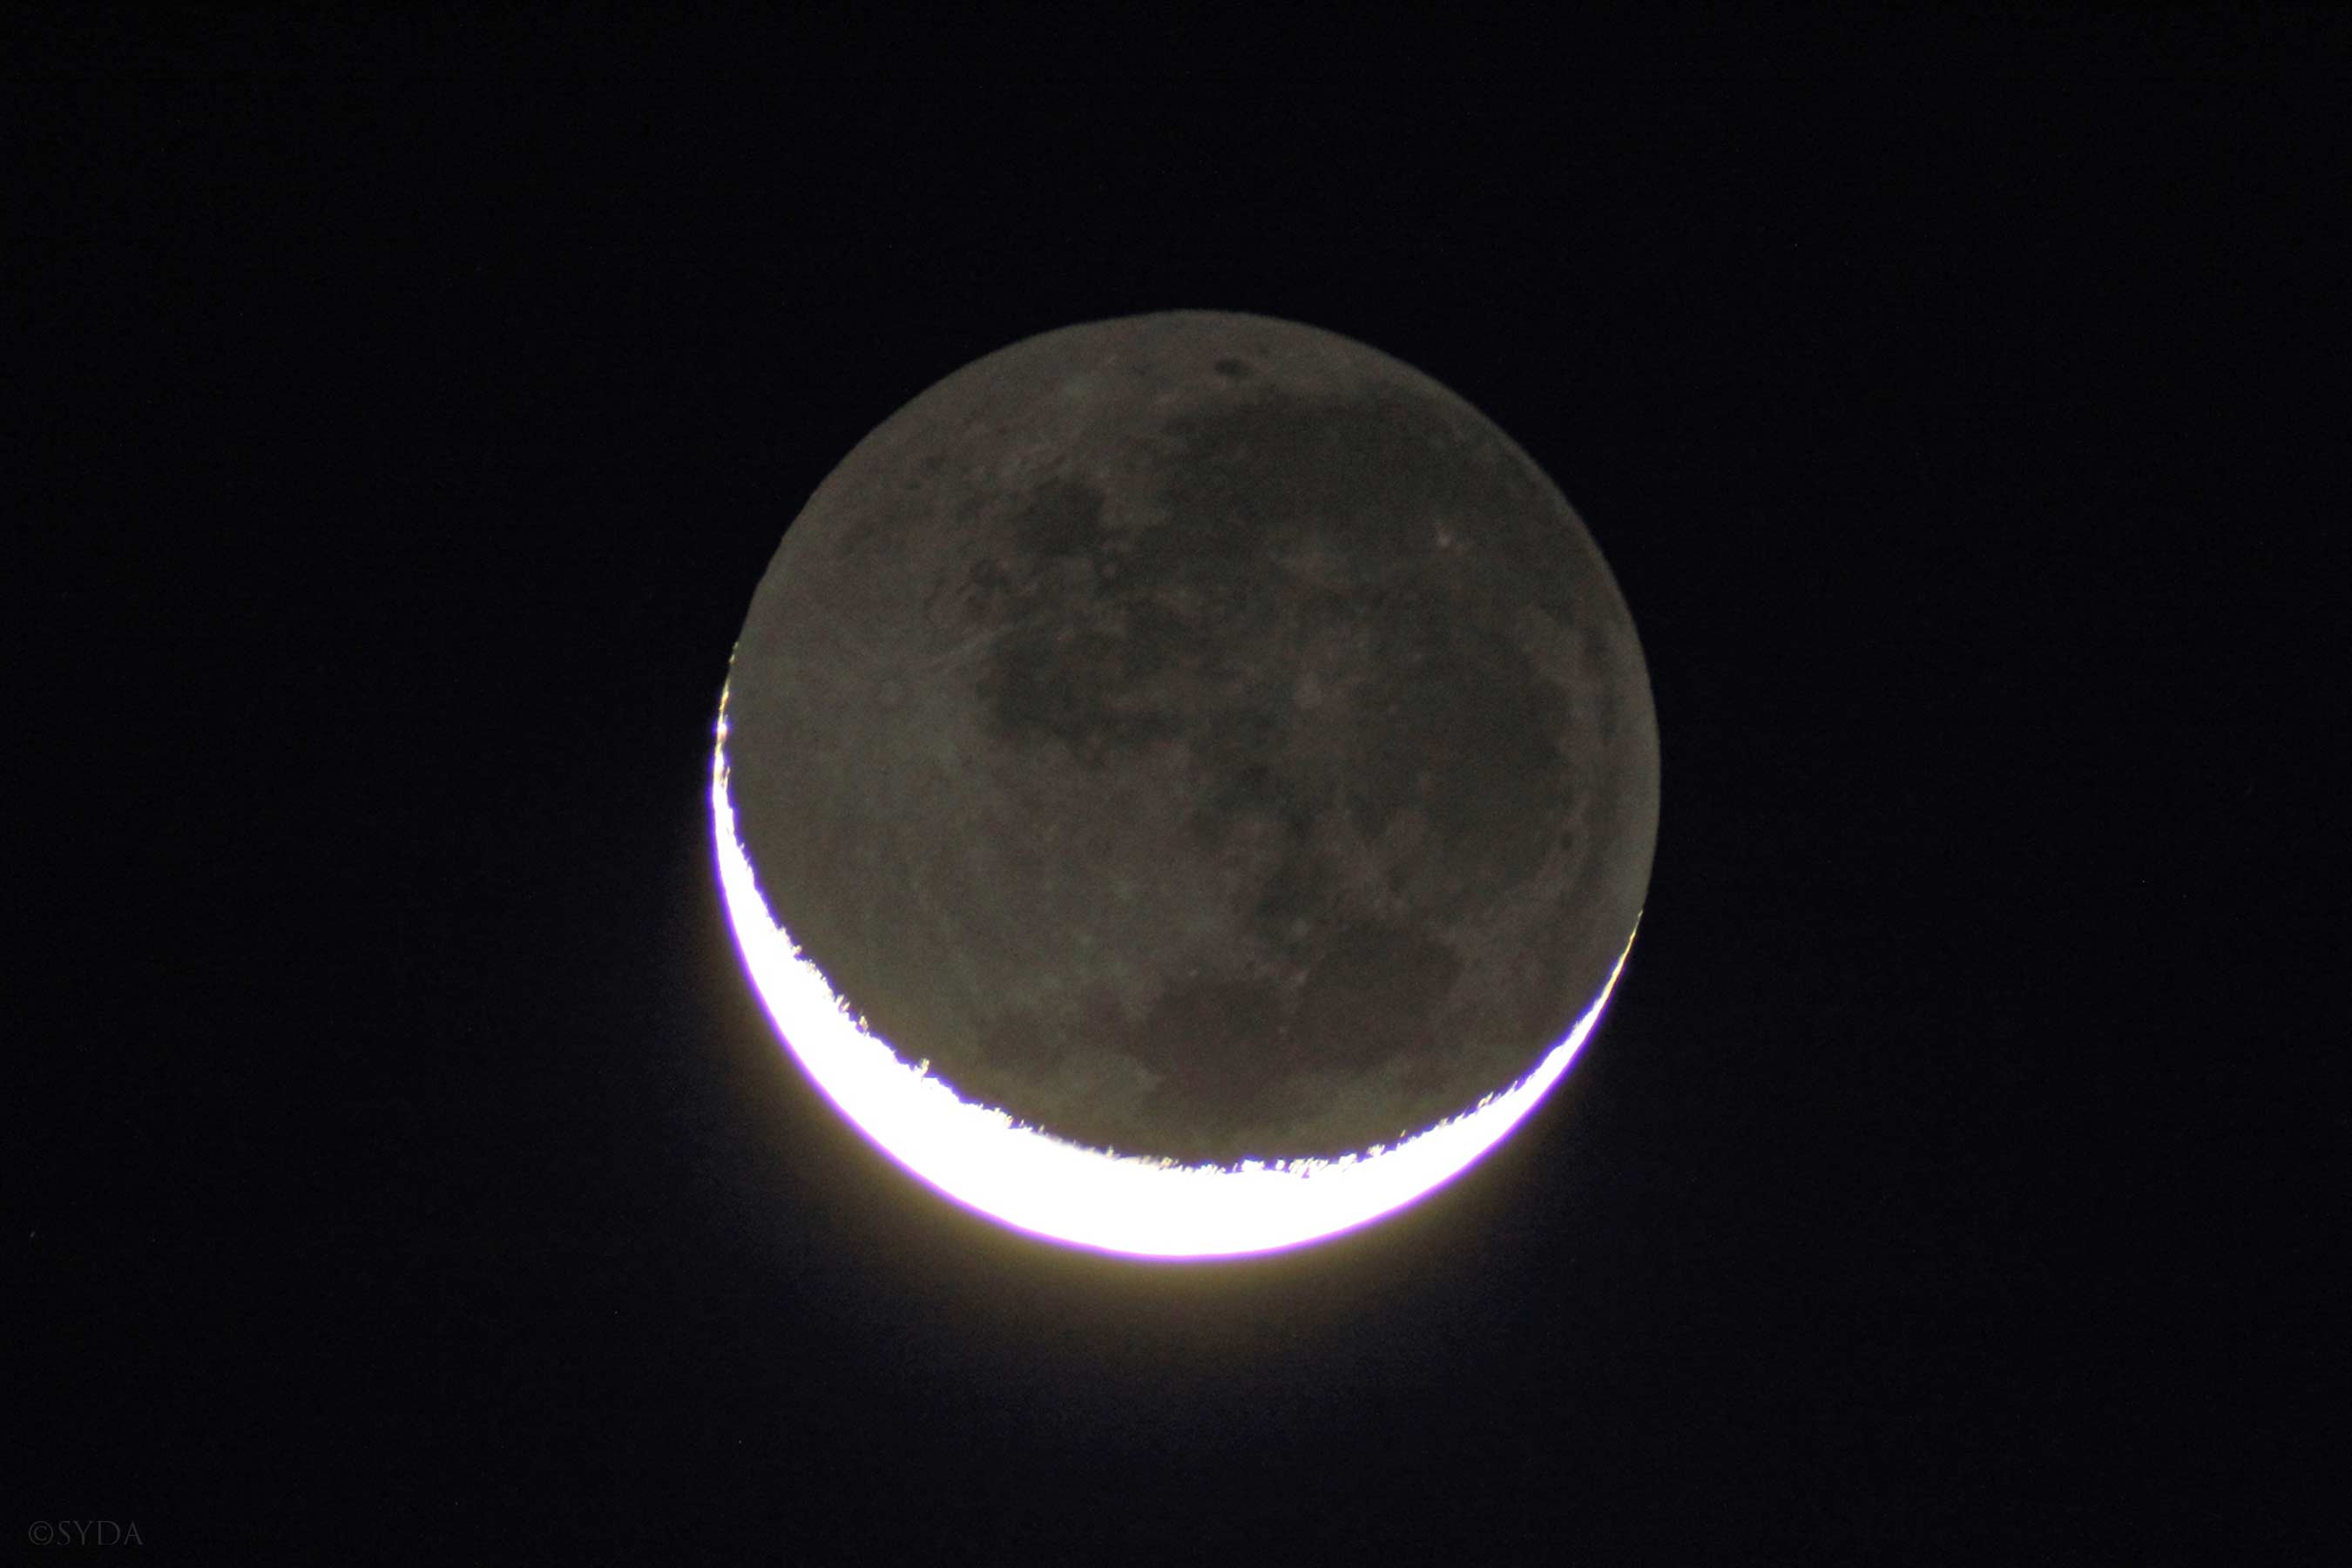
On the night of Baba’s Lunar Mahasamadhi, I felt drawn to go out and have a look at a garage I thought I might rent for the winter. After looking at it, I turned the car around—and there it was, Baba’s Moon! I felt that the shakti had brought Baba’s darshan to me.
I was struck by how, even while we’re doing the most mundane thing, God can show us he is always with us. I contemplated how, just as the moon reflects the sun’s rays, so does the Guru reflect the light and power of God. I stared at the moon, receiving a shower of grace, and went back into the house.
It reminds me of Baba’s teaching to see God in everything.
New Jersey, USA
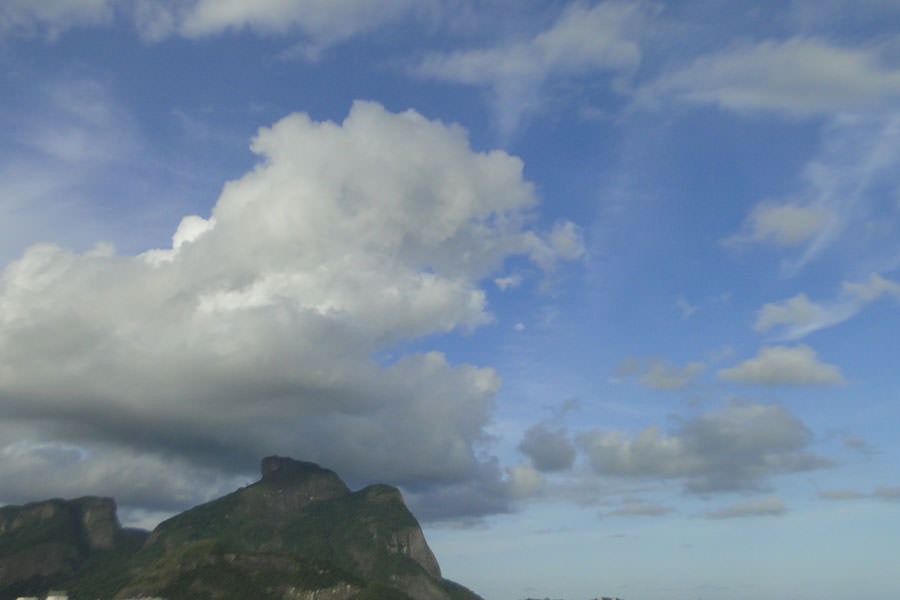
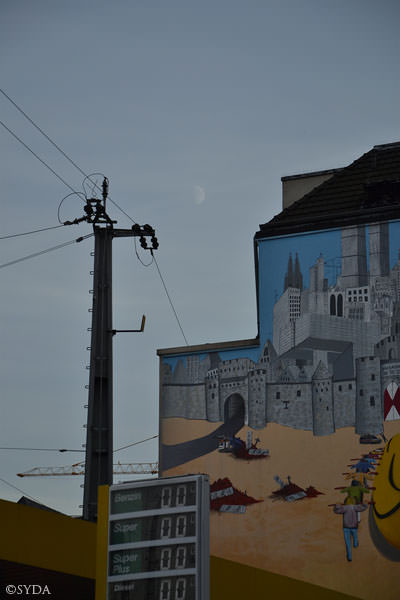
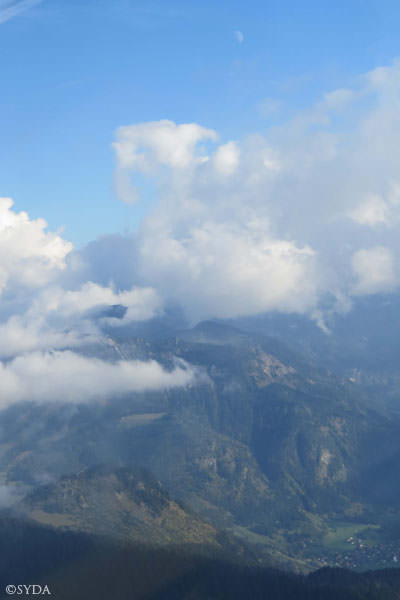
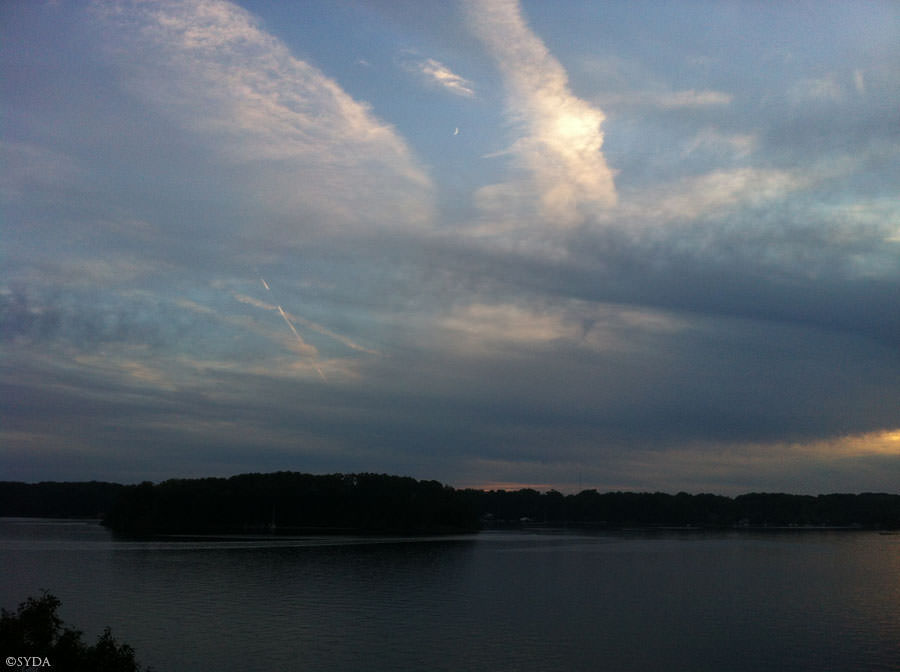
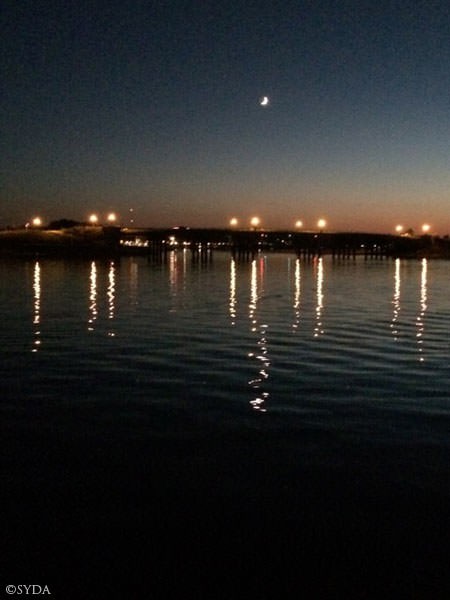
On October 7, the lunar anniversary of Baba’s mahasamadhi, I was in Crete. The sun was setting, and I took a long walk along the seashore, chanting Baba’s name. The mountains across the coastline appeared brilliantly aflame in red, orange, and purple. I noticed a tiny, white cloud over the mountains which literally formed out of the blue.
I sat down for dinner and watched the colors darkening. At the same time the moon—Baba´s moon—was rising. It was large, bright, and serene, and bathed the mountains and the sea in shimmering silver. Suddenly, some people entered the restaurant where I was sitting, speaking and motioning excitedly. When I stepped outside, I realized why: the tiny cloud had grown into a huge, giant cloud. Dazzling white, it hovered motionless over the valley. There was no storm, no rain, no thunder, yet the cloud was illumined from inside by countless mighty flashes of lightning.
It was overwhelming. Tears came to my eyes. I felt Baba´s presence, his serenity, tenderness, and power reflected in the astonishing beauty of nature—and in our lives.
Vienna, Austria
Last night, I dreamt Baba’s moon came into my house roaming through the rooms looking for me. When it came into my bedroom, it hovered above me in flawless quietude, blessing me with gentle, soft rays of light and love.
New York, USA
Tonight at the local Siddha Yoga Meditation Center, I attended the Preparation for the Shaktipat Intensive, which I am eagerly looking forward to. When I returned home, I sat on the couch for my nighttime meditation. The moon, just past the fullness of Baba’s Mahasamadhi, shone through the window and onto my lap.
I meditated with my shawl around me, the familiar incense, the sounds of the tamboura, and I felt completely embraced by the Gurus’ love and benevolence. The light of Baba’s moon was silent, luminous, as delicate and ephemeral as each passing moment, yet eternal and unchangeable.
I meditated with my shawl around me, the familiar incense, the sounds of the tamboura, and I felt completely embraced by the Gurus’ love and benevolence. The light of Baba’s moon was silent, luminous, as delicate and ephemeral as each passing moment, yet eternal and unchangeable.
Massachusetts, USA
Today as I watched Baba’s Moon Gallery, I felt connected with each Siddha Yoga photographer around the globe. I was so grateful and moved by the love, intention, thought, and creativity in each photo. Their love and dedication to the Siddha Yoga path shone through their images.
The variety is delightful. Whether playful, imaginative, simple, or profound, each one is a beautiful homage to Baba. It strikes me as a metaphor for the divine play of Consciousness. While we are each unique individuals, God’s love shines forth and unites us.
The variety is delightful. Whether playful, imaginative, simple, or profound, each one is a beautiful homage to Baba. It strikes me as a metaphor for the divine play of Consciousness. While we are each unique individuals, God’s love shines forth and unites us.
California, USA
When I view Baba’s Moon Gallery, I feel as if each radiant moon is a bead on my japa mala. With each stunning photo, my breath expands and contracts with the mantra So’ham. My heart sparkles as I imagine the love and devotion of each of the photographers. I feel as if I have been traveling around the world, riding on the mantra.
New York, USA
As I was looking at the moon pictures, tears came to my eyes. I realize that I am touched because I can feel that all of them were taken out of love. And it is from that place of love that I feel united with all the Siddha Yogis around the world. It is a great feeling. Even though I live by myself, I have the experience that I am not alone.
Thank you, Baba. Thank you, Gurumayi.
Thank you, Baba. Thank you, Gurumayi.
Magog, Canada
Today, watching the stunning pictures of the moon rising around the world as I chanted Om Namo Bhagavate Muktanandaya, I could feel my heart expanding with each new sighting of Baba’s moon. I could feel Baba filling me up with his exquisite love, my whole being becoming one with Baba’s love, which is expansive, fulfilling, and compassionate. I was bathed in the moon’s rays and in the vibration of the chant.
I am grateful to experience Baba so very close.
I am grateful to experience Baba so very close.
Washington, USA
My eyes are bathed in this holy moon
that shines through me to my heart.
I imagine my Beloved’s gaze held in its glow tonight.
Where does her gaze end and the glow of the moon begin?
Baba’s moon revolves around the earth
like the pradakshina of my heart around my Guru’s feet.
that shines through me to my heart.
I imagine my Beloved’s gaze held in its glow tonight.
Where does her gaze end and the glow of the moon begin?
Baba’s moon revolves around the earth
like the pradakshina of my heart around my Guru’s feet.
California, USA
While looking at the pictures of the moon taken by devotees around the world, I felt that Baba had brought us all together with one purpose. We all paused to contemplate the beautiful moon. In the photos, I could see the beauty of the entire world, the moon from many angles, through the window of a thousand eyes.
Thank you, Baba, for this powerful reminder of our unity.
Thank you, Baba, for this powerful reminder of our unity.
Santiago, Chile
Thank you to all who contributed pictures to the collection of Baba’s Moon. They took me on an extraordinary journey around the world.
Thank you, Baba. Your spirit shines through all these pictures.
Thank you, Baba. Your spirit shines through all these pictures.
Oregon, USA
Watching and photographing the moon these past several nights has helped me to remember the nectar of Baba’s love and the light of the Siddha Yoga path in my life. My heart is brimming with gratitude.
Florida, USA
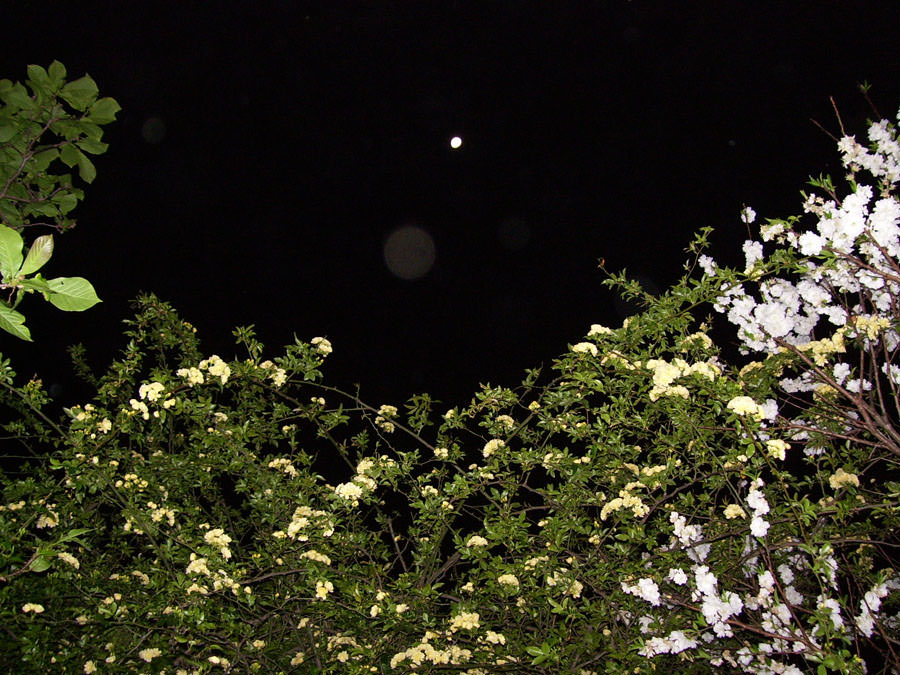
On Monday night, I had just finished meditating and was heading off to bed. I had the inner prompting to go outside to look at the moon one more time. My breath was taken away by what I saw.
There was a huge swirl of white clouds that formed a perfect heart shape, with the nearly full moon right at the tip of the heart. I went inside to get a camera, and the formation stayed until I took the photos. It was as if Baba had given me a vision of his own great heart. I was overwhelmed with gratitude.
There was a huge swirl of white clouds that formed a perfect heart shape, with the nearly full moon right at the tip of the heart. I went inside to get a camera, and the formation stayed until I took the photos. It was as if Baba had given me a vision of his own great heart. I was overwhelmed with gratitude.
California, USA
I am grateful for the invitation to photograph the moon for the past week. It has been really exciting to see what Baba’s moon will reveal each evening. Also, as I look at the moon gallery each day, it has been profound to see what devotees all over the world are capturing in creative and fun ways. Although we photograph the moon from our different places and perspectives, I experience our oneness.
Indiana, USA
Each picture is like a welcome greeting from Baba Muktananda, saying, “With great respect and love, I welcome you all with all my heart.”
Ingolstadt, Germany
I am experiencing a week-long hospital stay, which has kept me from being able to go outside to view Baba’s moon, or even to see it through the window.
Last night, in the middle of the night, I woke up with soft rays of light shining upon my face. When I opened my eyes, there was Baba’s beautiful, shimmering moon, radiating love to me through the window and filling my whole being with great joy.
Thank you, Baba. I love you!
New York, USA
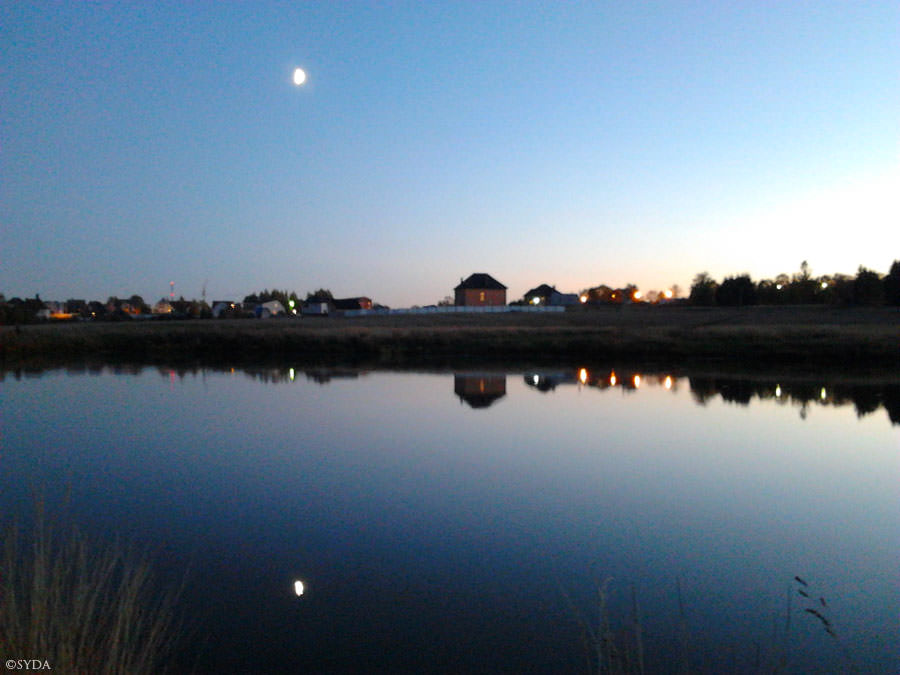
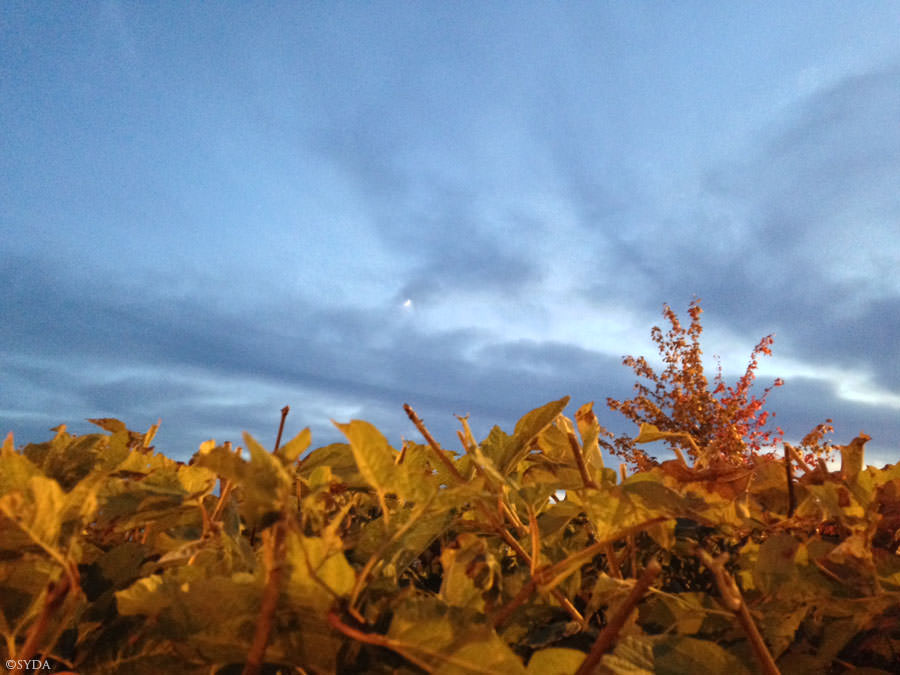
Moonlight. Guru’s Grace.
Flowers, grasses, trees, rivers, lakes, mountains.
We are connected through the light, through God’s love.
Flowers, grasses, trees, rivers, lakes, mountains.
We are connected through the light, through God’s love.
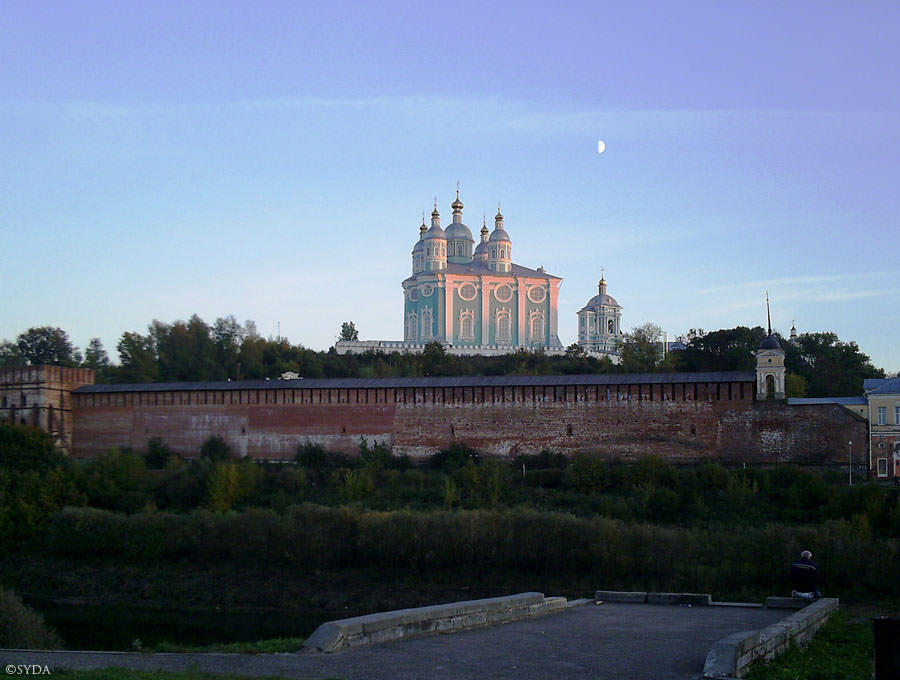
Smolensk, Russian Federation
It’s late at night and I’m alone in the office. I decided to take a pause and visit the Siddha Yoga path website. While I was looking at the moon gallery, for a moment I felt I was traveling around the world with Baba’s moon. Each country I passed over seemed to embrace me and the moon.
Thank you, Baba! Thank you, Gurumayi, for sharing so much love.
Thank you, Baba! Thank you, Gurumayi, for sharing so much love.
Milan, Italy
After watching the moon slideshow, I clicked on the "Experience Darshan—Baba Muktananda" button, and chose a photo to enlarge. The quote from Baba happened to be: "As the mantra vibrates more and more inside of you, the goal of the mantra—which is pure love—begins to flow in the heart.”
The moon photos conveyed this experience to me.
The moon photos conveyed this experience to me.
California, USA
The moment I opened “Baba’s Moon Photos,” I experienced a sweet coolness in my heart, and it continued as I watched. I shouldn’t be surprised now at the power that emanates from the Siddha Yoga path website. It’s happened to me so many times, bringing me into the present moment. Today it brought me magically, instantly, into being with the shakti, with Baba’s powerful presence and love.
Thank you, Gurumayi. Thank you, Baba. Thank you, moon photographers and website sevites, for creating this magical vehicle for shakti and grace!
Thank you, Gurumayi. Thank you, Baba. Thank you, moon photographers and website sevites, for creating this magical vehicle for shakti and grace!
California, USA
One moon, one heart, one light, one love.
California, USA
The wonderful pictures on the website are so abundant! So this morning I began my visit to Baba’s Moon Gallery by viewing the pictures in thumbnail form. I noticed immediately that one picture taken in Kempten, Germany, and another of the moon in the sky over Shree Muktananda Ashram were very similar. I was powerfully reminded that in the same way that the moon’s radiance shines on us all, so too are we all blessed with the Guru’s grace wherever we are in the world.
Thank you, Gurumayi, for all the ways you shine your grace on us. And thank you to the website sevites whose seva helps remind us of your bounteous blessings.
Thank you, Gurumayi, for all the ways you shine your grace on us. And thank you to the website sevites whose seva helps remind us of your bounteous blessings.
New York, USA
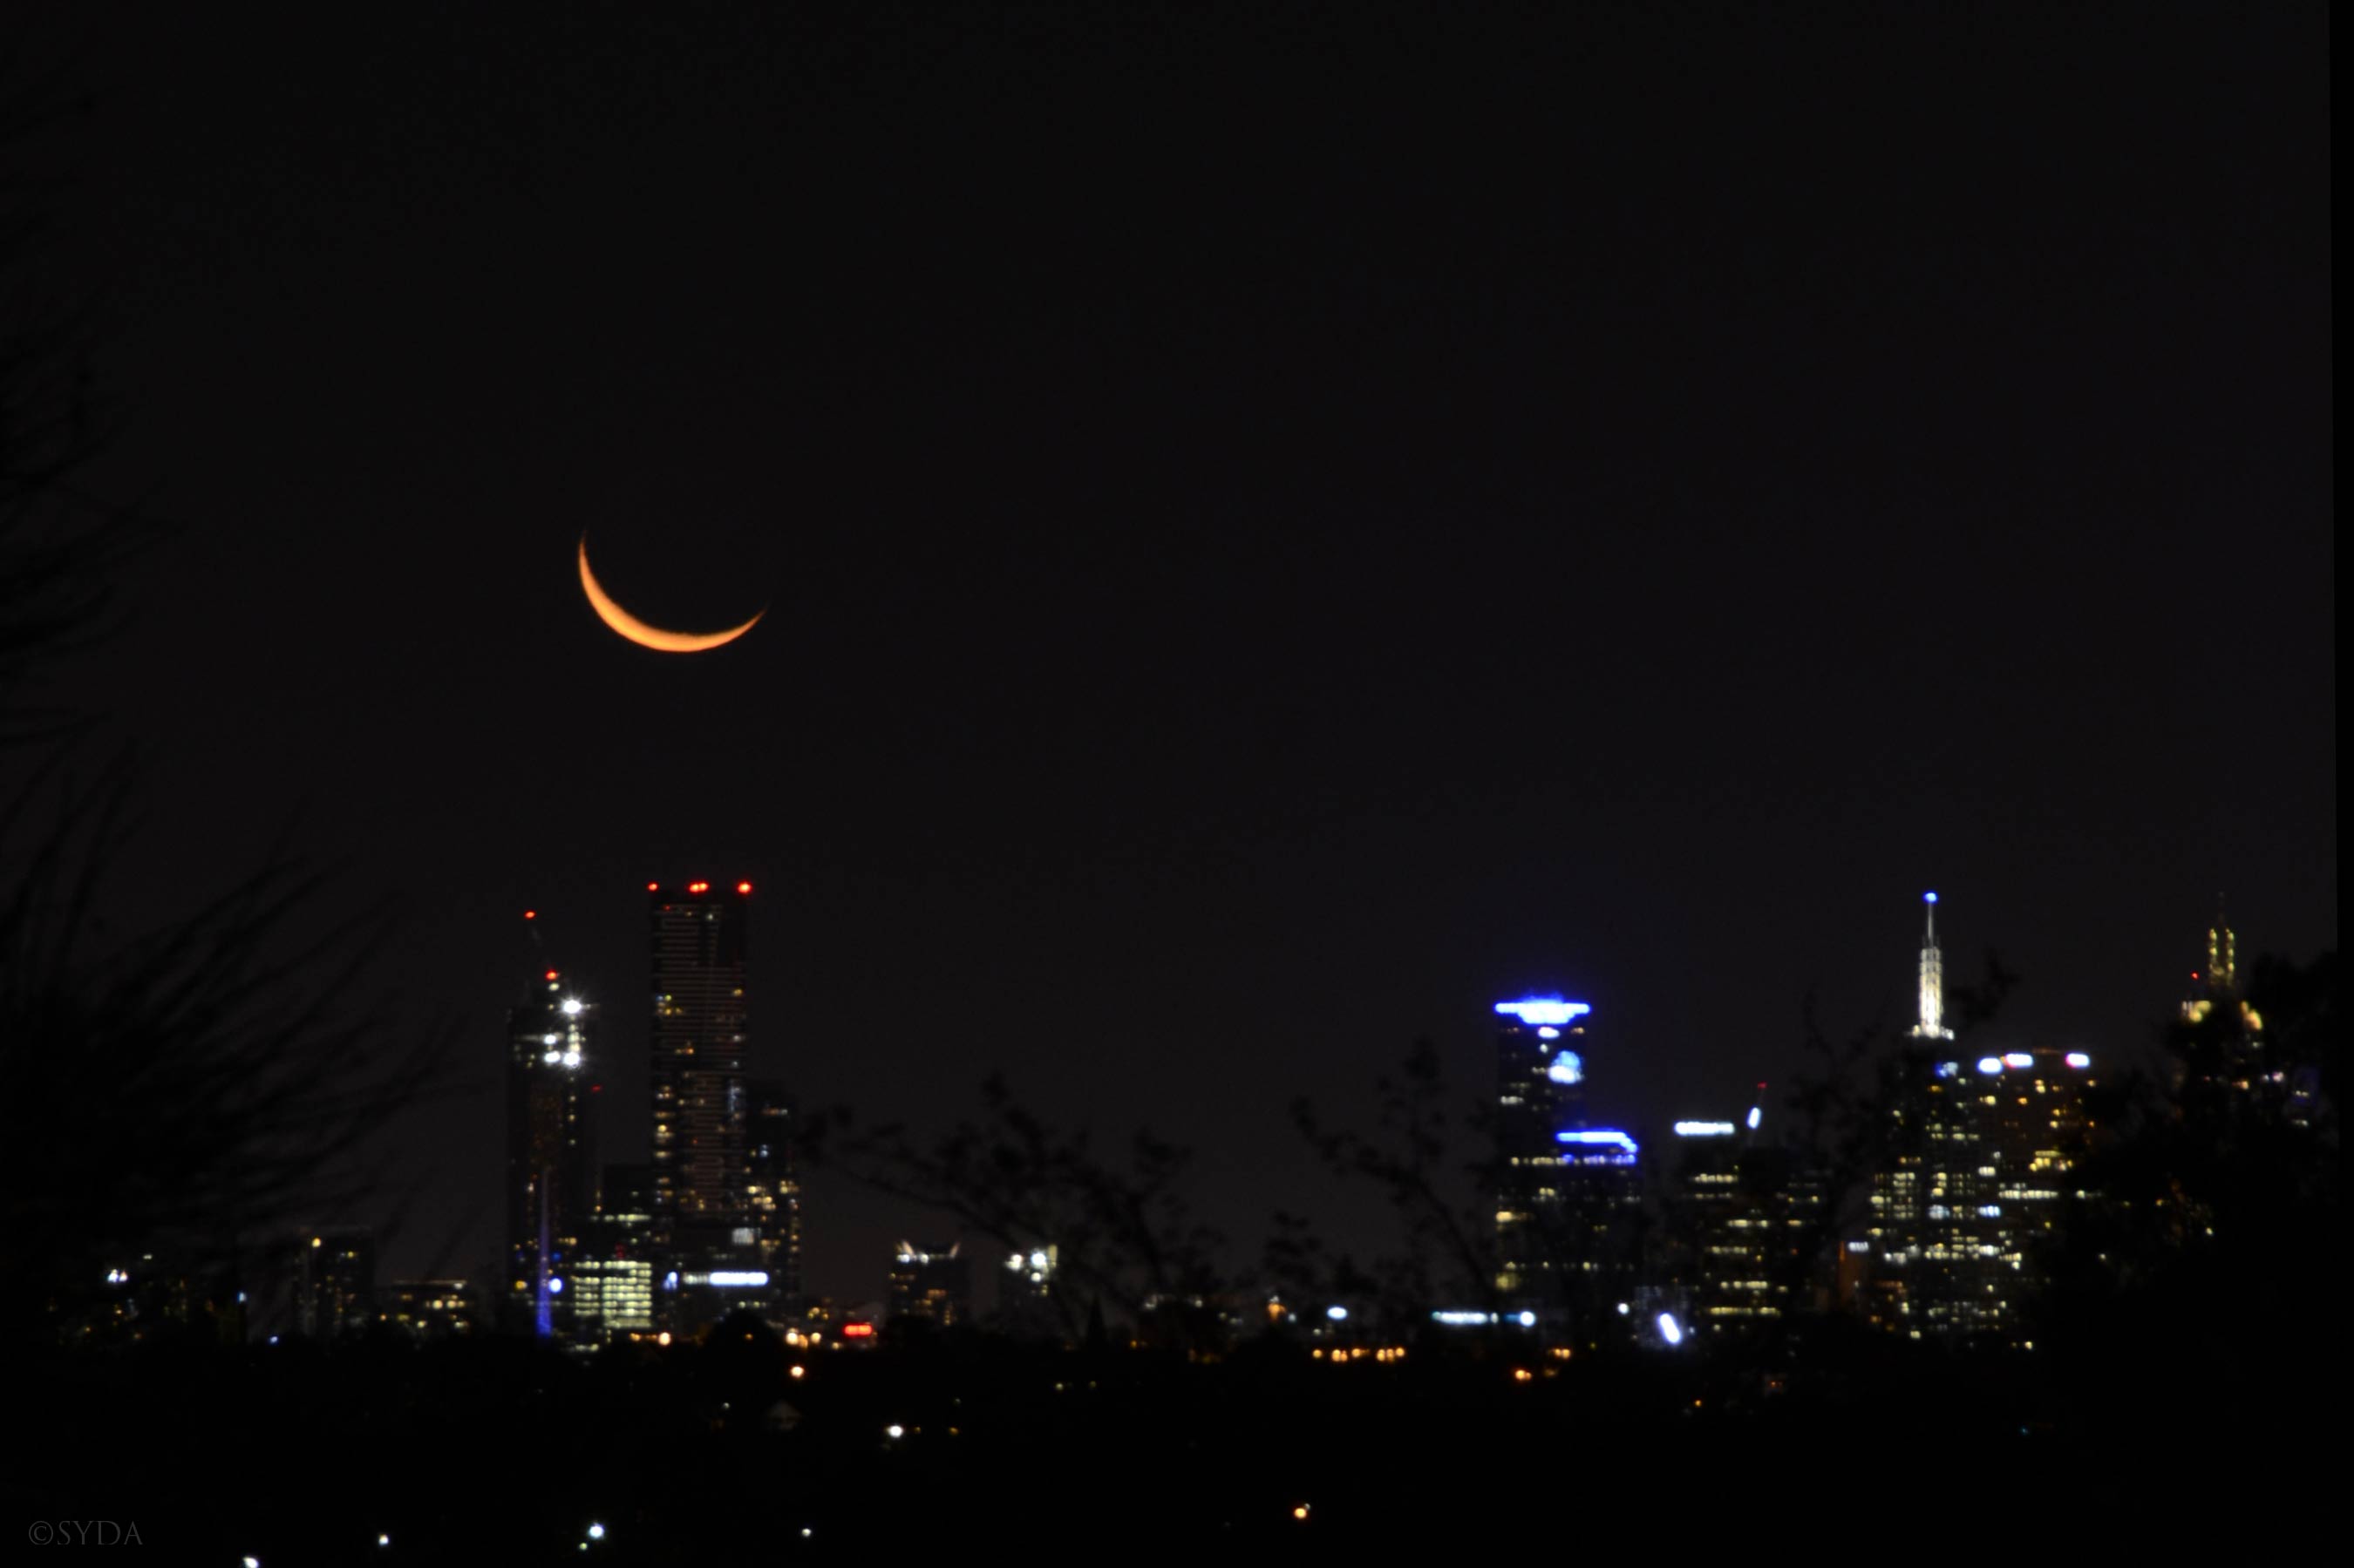
The Guru’s light, as seen in Baba’s moon over the cities of many countries, is so beautiful. I know that my daughter and her friends have had a lot of fun chasing the moon as she hides behinds buildings and disappears behind clouds. Then, when the moon appears, we get so excited to see her beauty above us, and to reflect on her significance on the Siddha Yoga path.
To be able to capture her in that moment and send our photo to join others in celebrating Baba’s moon is awesome. Thank you for the opportunity.
To be able to capture her in that moment and send our photo to join others in celebrating Baba’s moon is awesome. Thank you for the opportunity.
South Yarra, Australia
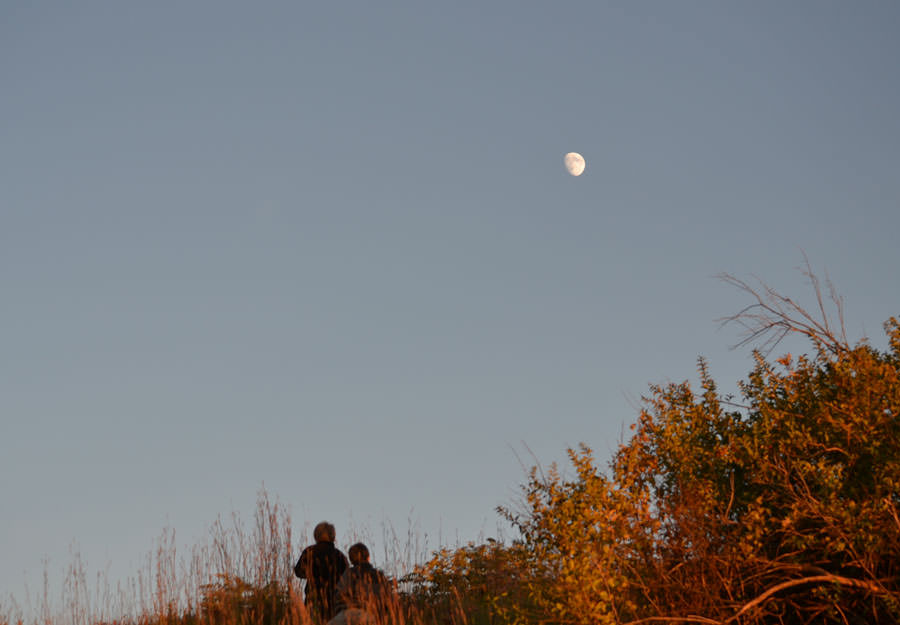
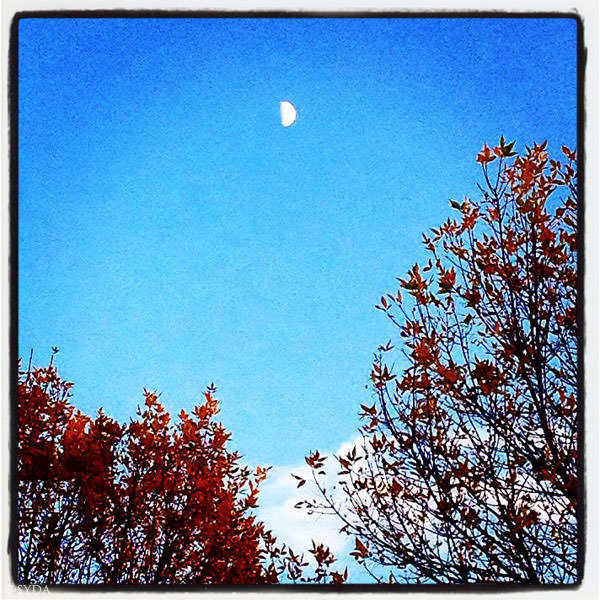
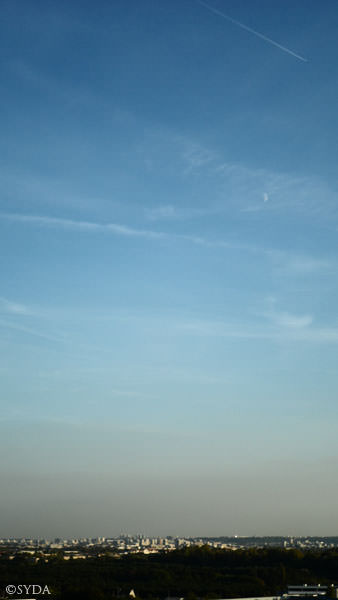
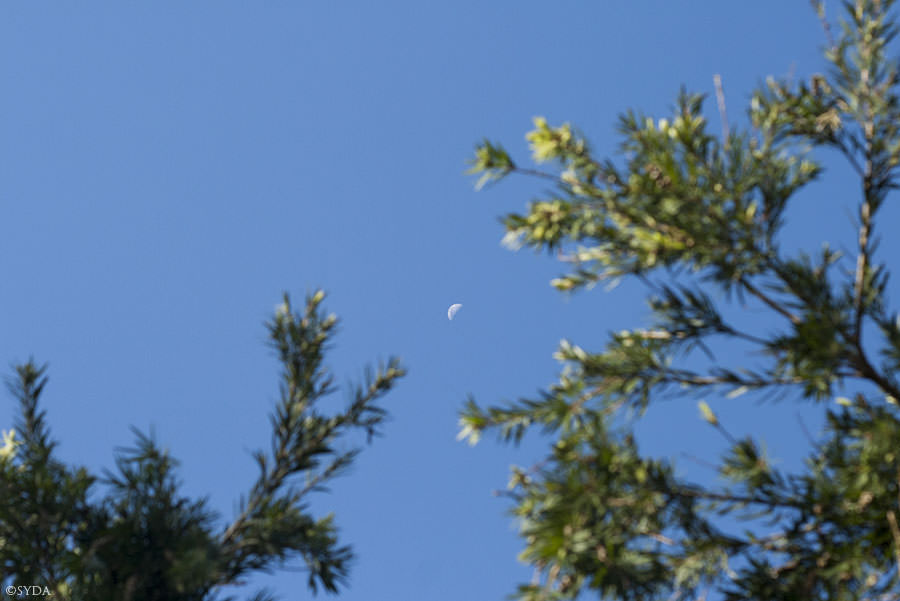
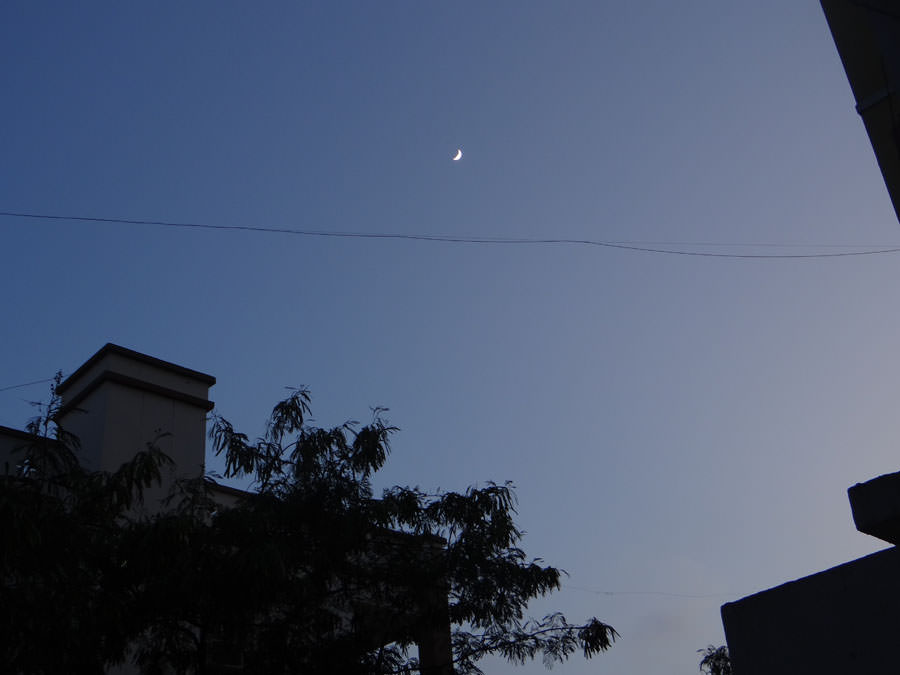
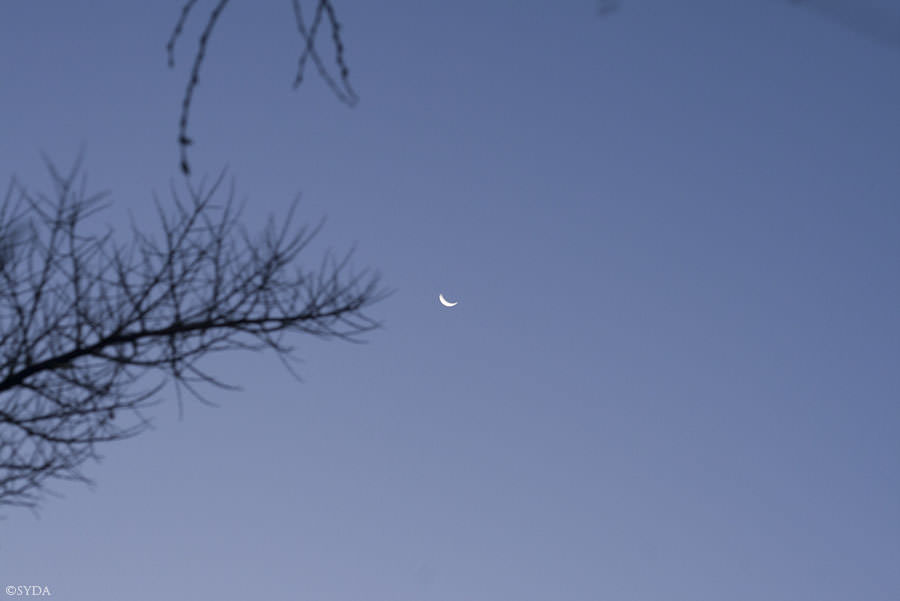
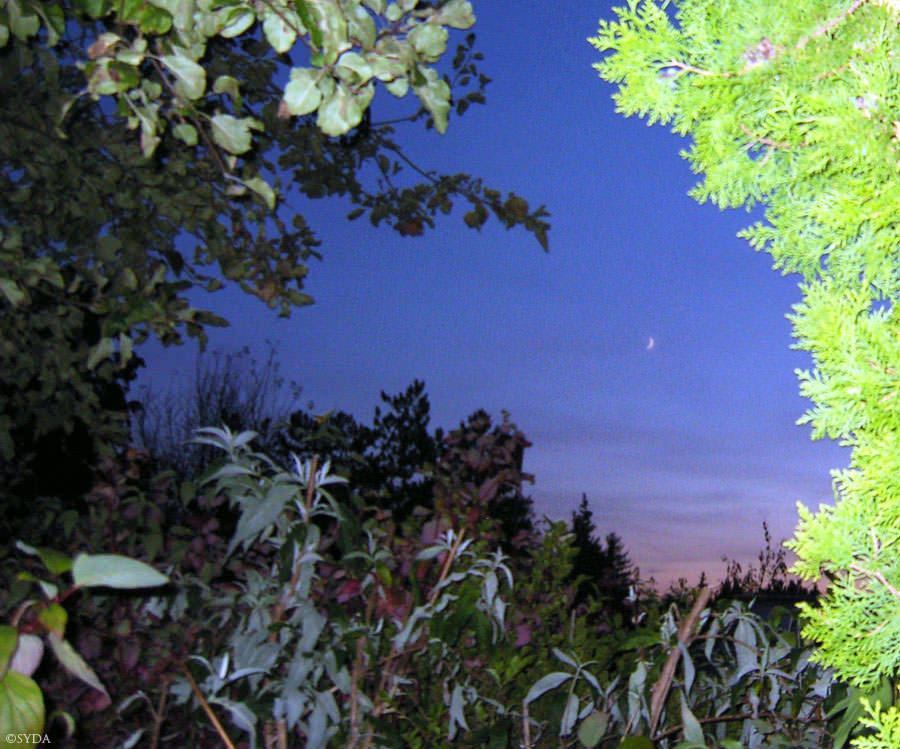
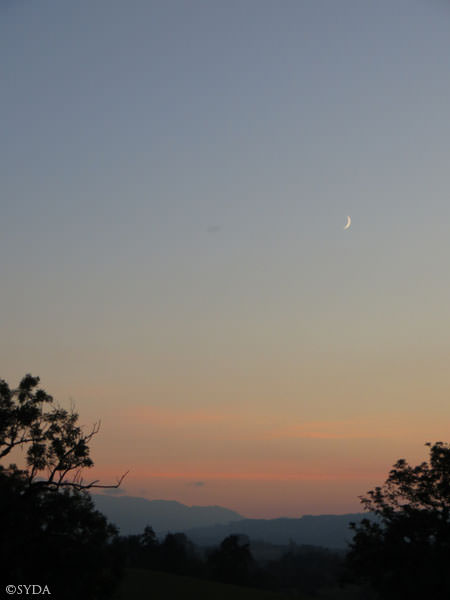
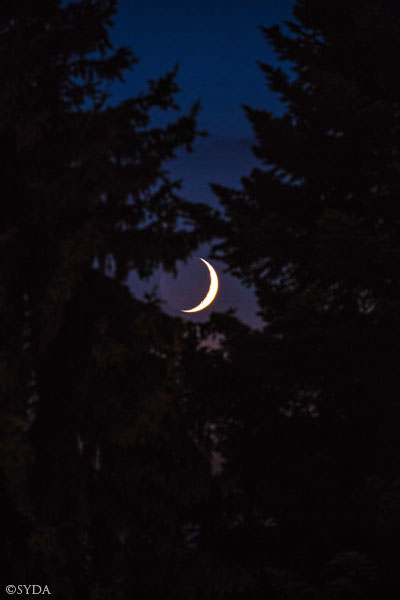
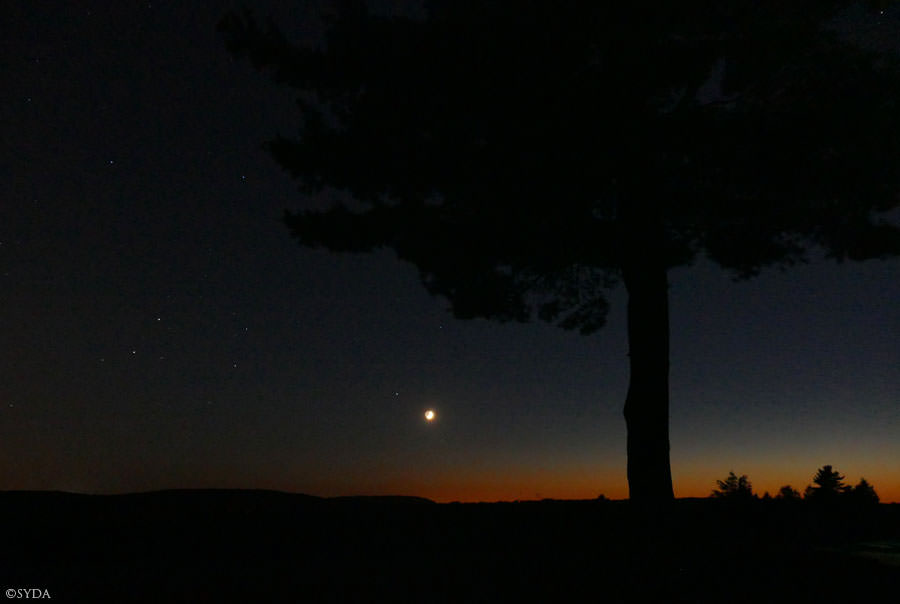
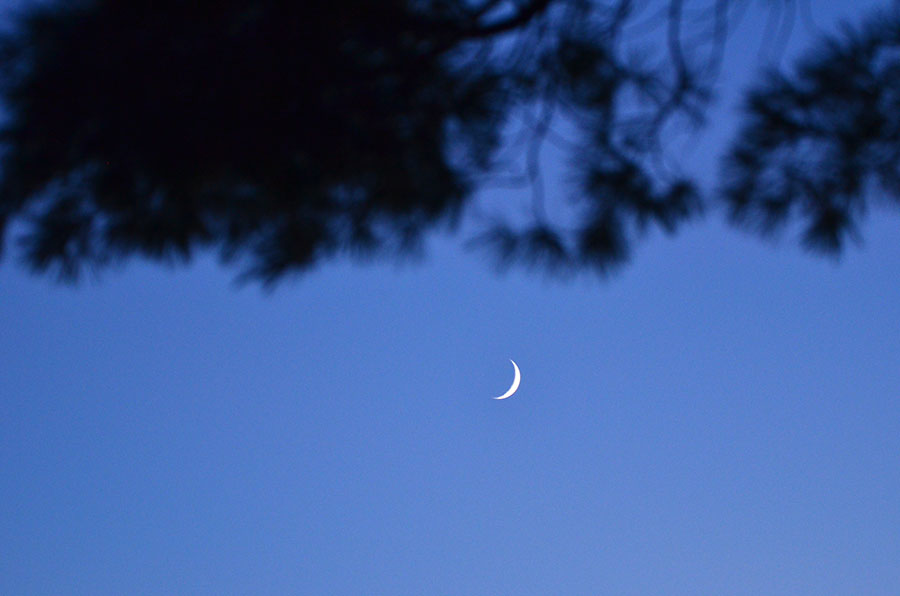
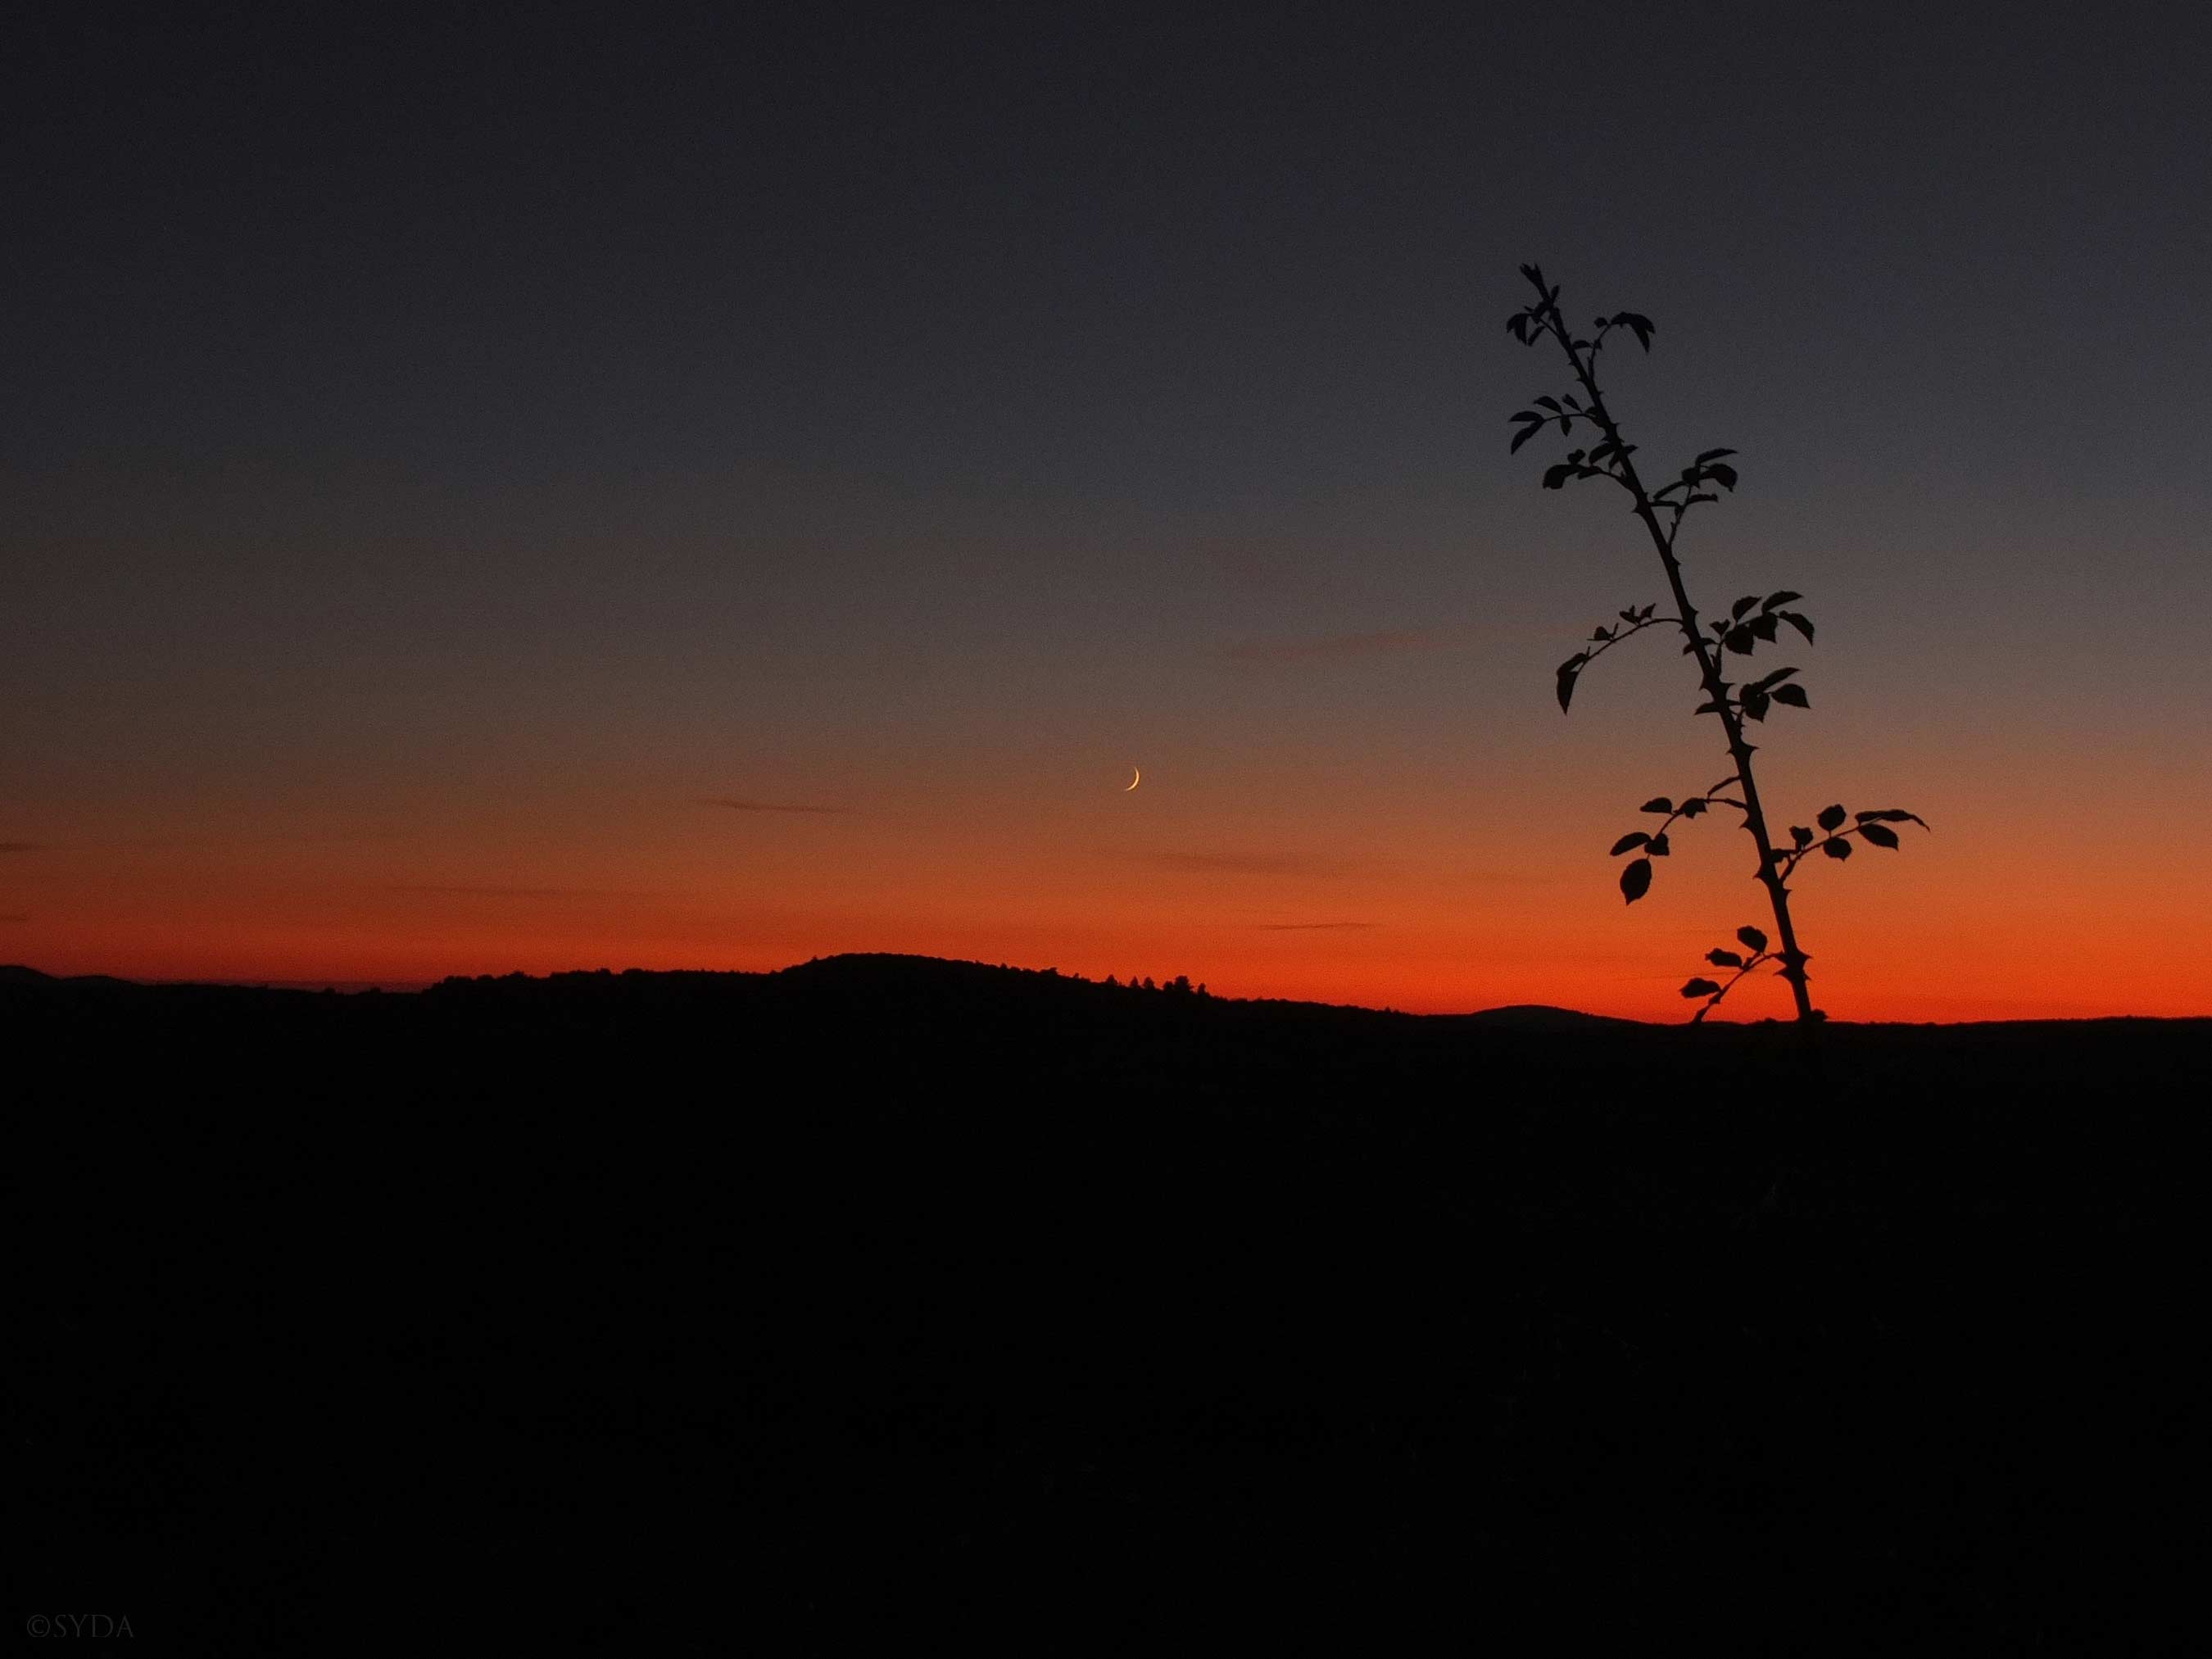
Since there are a lot of trees in my neighborhood, I was unable to see the moon. So, I took a ride to a place on top of a hill, with an almost 360 degree panoramic view. Upon arriving there, I started to feel very peaceful. The blue sky, tinged with the sunset’s orange hues, encircled my being with a welcoming hug.
As I slowly twirled around several times, looking up into the evening sky, I could not locate the waxing moon. Feeling unsuccessful, I was about to go home. But then, I said to myself, “Just try one more time.” As I looked up, there was the radiant moon, shining its light down on me. My heart leapt with joy at the sight of it. Excitedly, I proceeded to take several pictures.
As I write this share, I still feel immersed in the peace of the soft moonlight and the spacious blue sky.
New York, USA